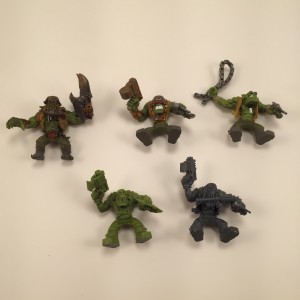
Everyone has their own techniques and methods for painting miniatures, and I always find it interesting to see how others like to work. Sharing ideas and different tricks and tips is how we all learn and get better at the hobby. In that vein, and and since I happen to be working on a unit of Ork warbikers I thought I would give a little insight in to my particular process.
Modeling
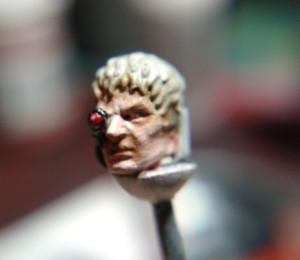
I’ve been working steadily on my Sanguinary Priest and its finally time to work on the face. Serendipitously, I found my macro lens for my phone, so we are going to get some extreme closeups. The photos make the surface of the model look a bit gritty, but it’s well within normal.
I always try to paint heads separate from their bodies, just because its easier overall. There is so much detail packed into such a small canvas and it really requires a lot of subtlety. This approach is by no means fast, but it does get results that I am pretty happy with.
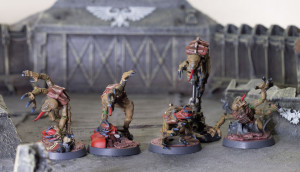
Finished these guys faster than I expected. I really like the results for how little work I put into them.
Continue Reading
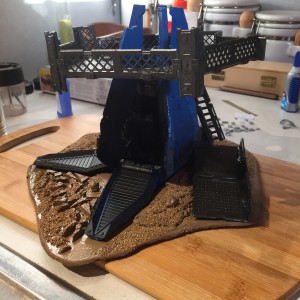
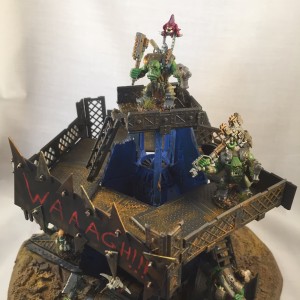
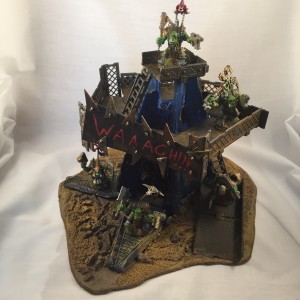
Last week I discussed the construction process on my Waaagh!!! Tower. With the basic construction completed, I wasted little time moving on to paint. I left it separated into the three main components of base, drop pod, and upper walkway so I could prime them separately with their base colors.
Now some people like to hand paint primer, others like an airbrush. I rather like Rust-Oleum’s Painter’s Touch spray primer for the purpose. It is thick enough for good even coverage but thin enough that it does not obscure details. As an added plus it comes in dozens of different colors and sheens.
For this project, I used Satin Nutmeg for the base. While the tower got a coating of Glossy Deep Blue with a blast of Flat Canyon Black for the interior and area right around the open doors to create a burnt out effect. The walkway I primed with a Flat Gray and then dry brushed with Pig Iron from the P3 line of model paints.
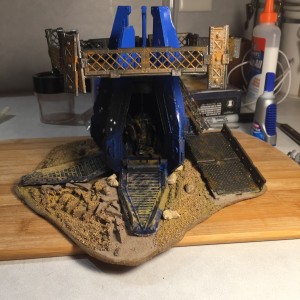
Once the three components were all dry I started the detailing process. All around the base, I used a mix of Citadel’s Armageddon Dust, Agrellan Earth, and P3’s Beast Hide and Rucksack Tan to create a variety of extra texture effects and variations in the color of the rocks and dirt. I also used the Rucksack Tan to give the effect of dust going over the open Drop Pod doors along with a thin wash of Seraphim Sepia.
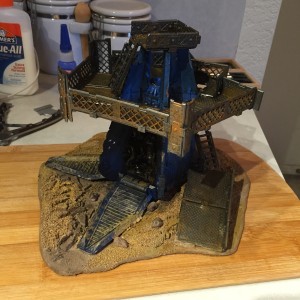
The Drop Pod itself I hit with P3’s Quick Silver on all the holes, pits, and various marks I had carved into it. I also dry brushed the same color along any sharp edges. Then I hit all of the same areas with a light dry brushing of Citadel’s Ryza Rust and washed the entire thing in Nul Oil. The interior got a light dry brushing of Pig Iron and then Ryza Rust before also getting a wash.
With the base and the Pod done, I started on the walkway portion. This was the simplest part; I just hit everything with a dry brush of Ryza Rust and then a wash of the Nul Oil.
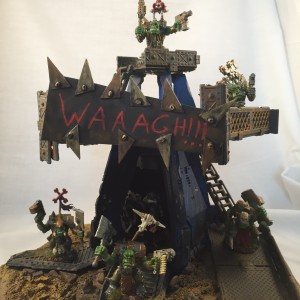
You may have also noticed that the Tower got two extra parts since my build post. As I was painting it there seemed like something was missing, the metal Waaagh!!! Banner was a no brainer, but even with it, the tower felt like it needed a topper. Enter an extra crow’s nest mounted top. I really think it pulls the whole project together. To close this post out, a few images of the tower with its Green skinned builders.
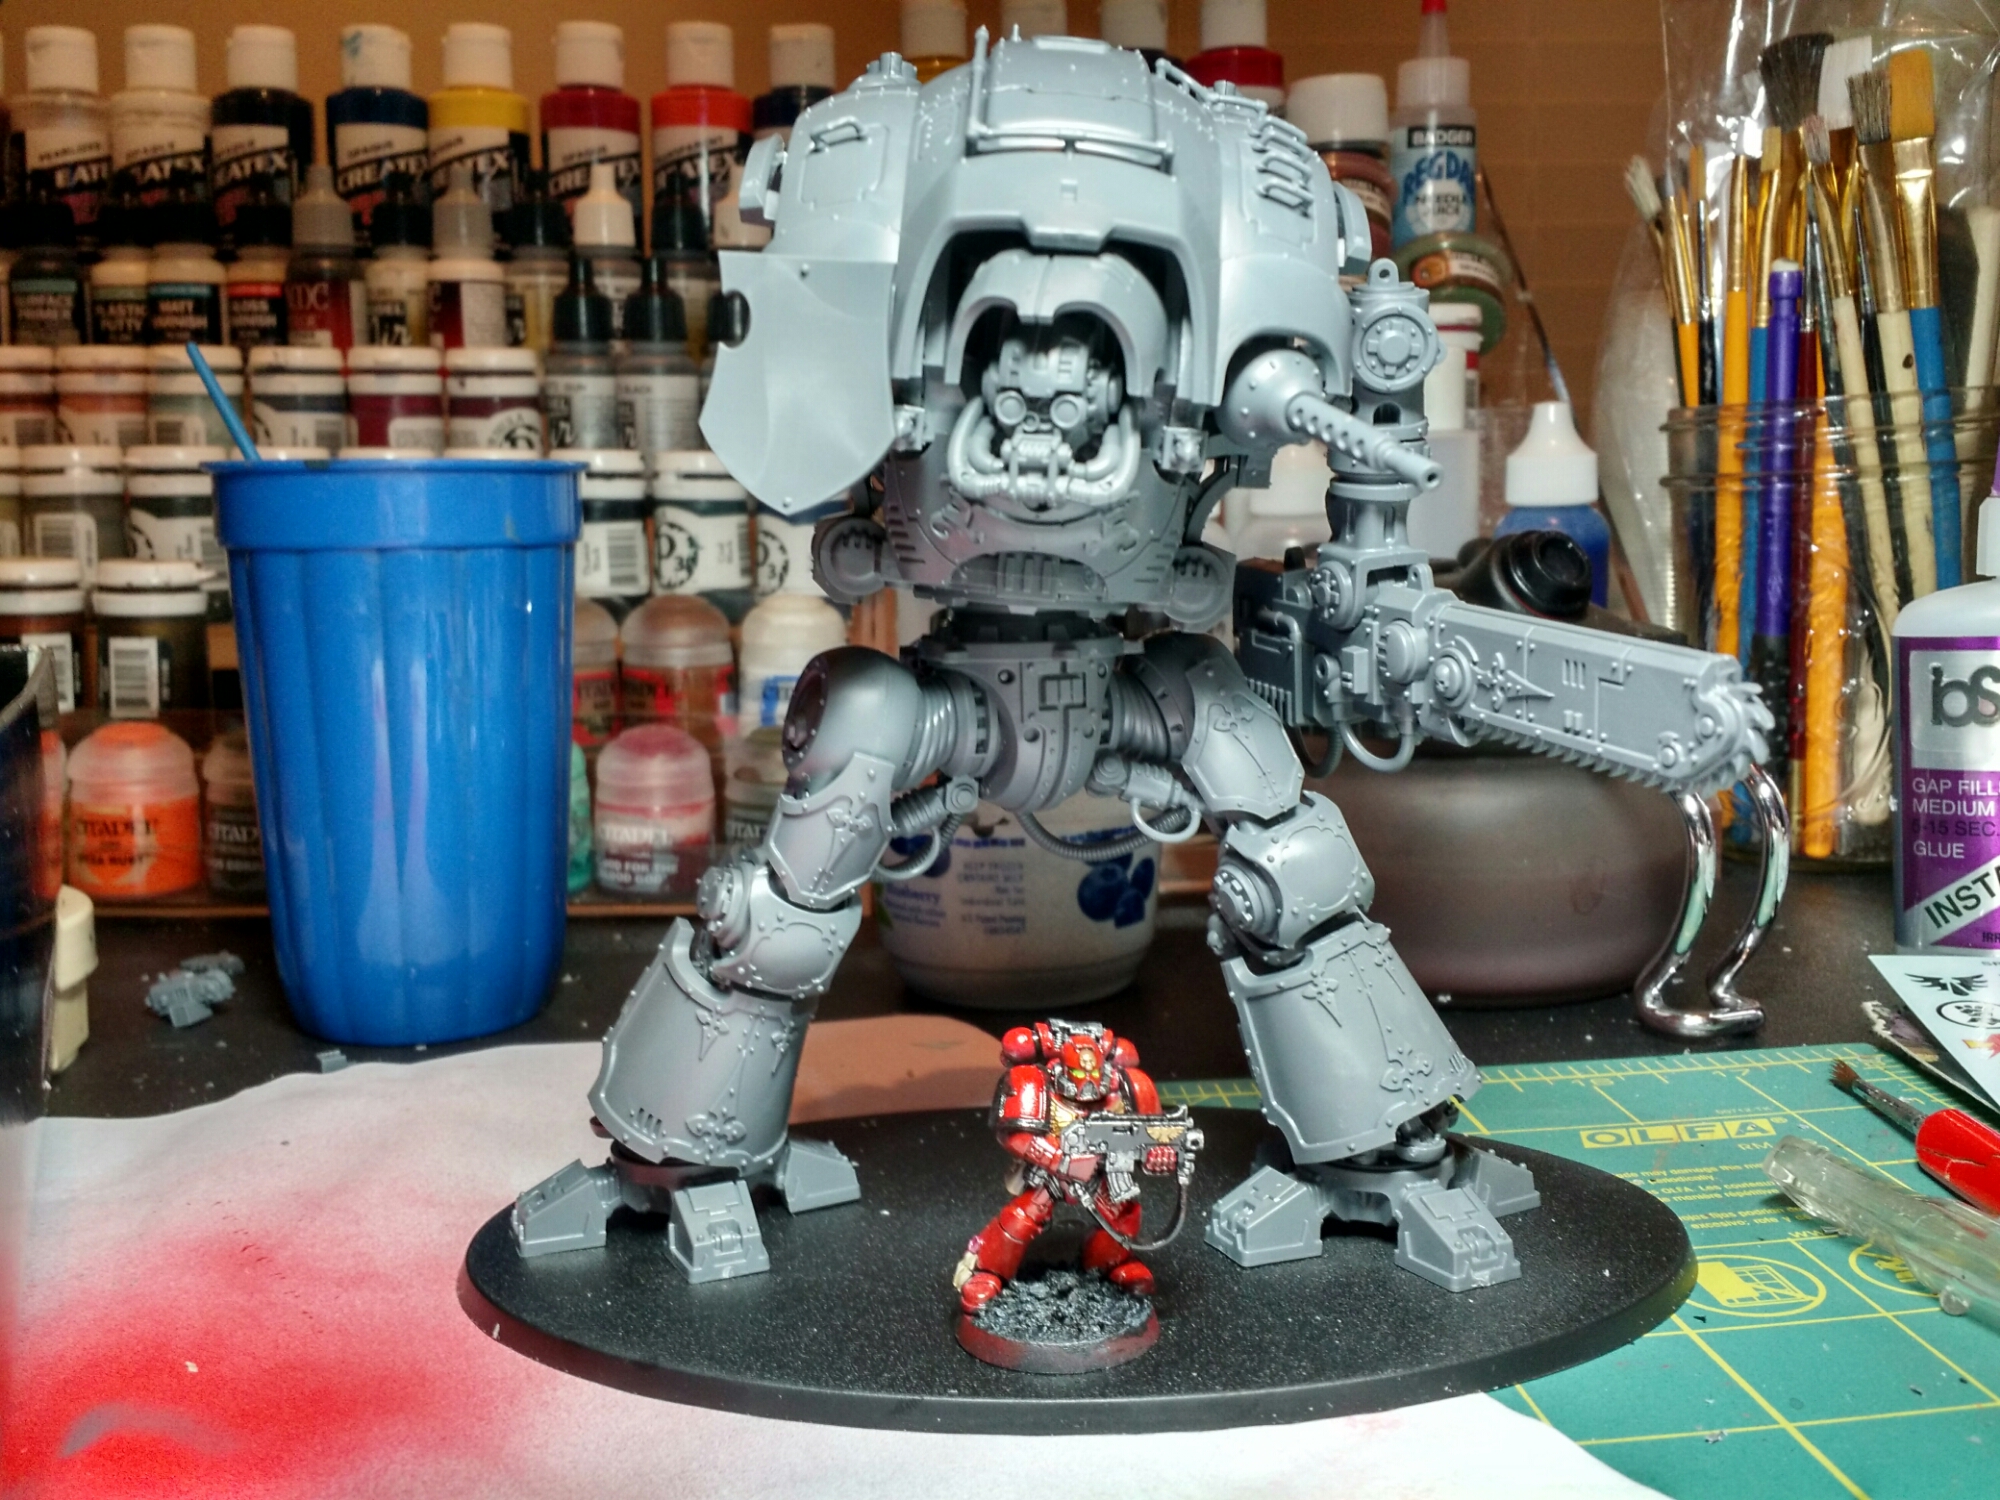
The Imperial Knights are such cool models that I got a bit overexcited and assembled the whole thing before touching the paint at all. This had consequences that have made this painting project more interesting than it would have been otherwise. The articulation was a big selling point for this model, so I left all the joints as mobile as possible and left the shoulders and waist unglued. I also magnetized the base so I could more easily stage the model, but attach him to the base for game play. I plan on playing this model with my Blood Angels, and I just think the red tones just look badass on these guys, so I’m going to paint him up like he belongs there. I learned a lot from my Dreadnought experiment previously and decided to try just layering the reds directly, instead of tinting over greyscale.
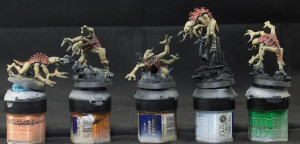
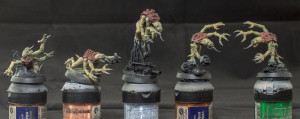
So while I’m working on my Terminators I like to have a process driven, “easy” project going simultaneously.
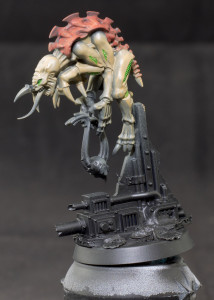
I airbrushed on some Vallejo Model Air Khaki Brown over a black primer for the skin.
My plan is to do the carapace in Vallejo Game Color Terracotta.
Vents and eyes in Minitaire Envy Green
I’ll paint the claws black and do a Citadel Bleached Bone highlight on the carapace.
I’ll tie it all together using the Vallejo Dark Brown wash over the whole figure.
The venerable Drop Pod is an iconic part of the 40k landscape. Slamming into the battlefield, unloading squads of space marines ready to destroy the xeno threat. I assume that after a victory a great ship comes in to scoop them up, clean them up, and ready them for further deployment. But what about when the marines fail, what happens to all those Drop Pods when the battle has been lost.
With my great Road Waaagh!!! nearly complete, I’ve started turning my attention towards building some terrain to give the battlefield as much character as the models playing across it. Having enjoyed the Dawn of War games I decided a Waaagh!!! Tower would be a nice place to start. Being that Orks are scavengers, a Drop Pod seemed like a perfect starting point.
The kit I used is actually a resin recast. I went that direction partly because using an actual kit seemed a little pricy for this purpose, and partly because the recast was already pitted and damaged which aided my purposes. Of course I went back at it with a drill and xacto knife to give it plenty of battle damage. Once it was assembled, I started adding pieces from the Syberclicks set I reviewed last week to build up the portions I imagined Orks would have built up around the ruined pod.
As I mentioned in that review the pieces in the kit look great, but the clips used to keep it all together left a lot to be desired. For this project I used tried and true superglue, and layered the panels to look like they had been peicemealed together. I also went with a variety of different sized panels for the railings to maximize the rambshackle thrown together look.
For a base I started with a piece of ten by ten HDF board, it gives a nice sturdy foundation. Then once I had a template for the drop pod traced, I started layering cork board. I wanted to give the look of cracked earth from the Drop Pod initially hitting the battlefield. Hot glue was used to round out some of the edges, and then I hit everything with a sander to smooth things a bit before putting down several layer of different sized sand and gravel.
With all of the construction complete I had a pretty decent looking tower. I’ll cover painting it up next time.
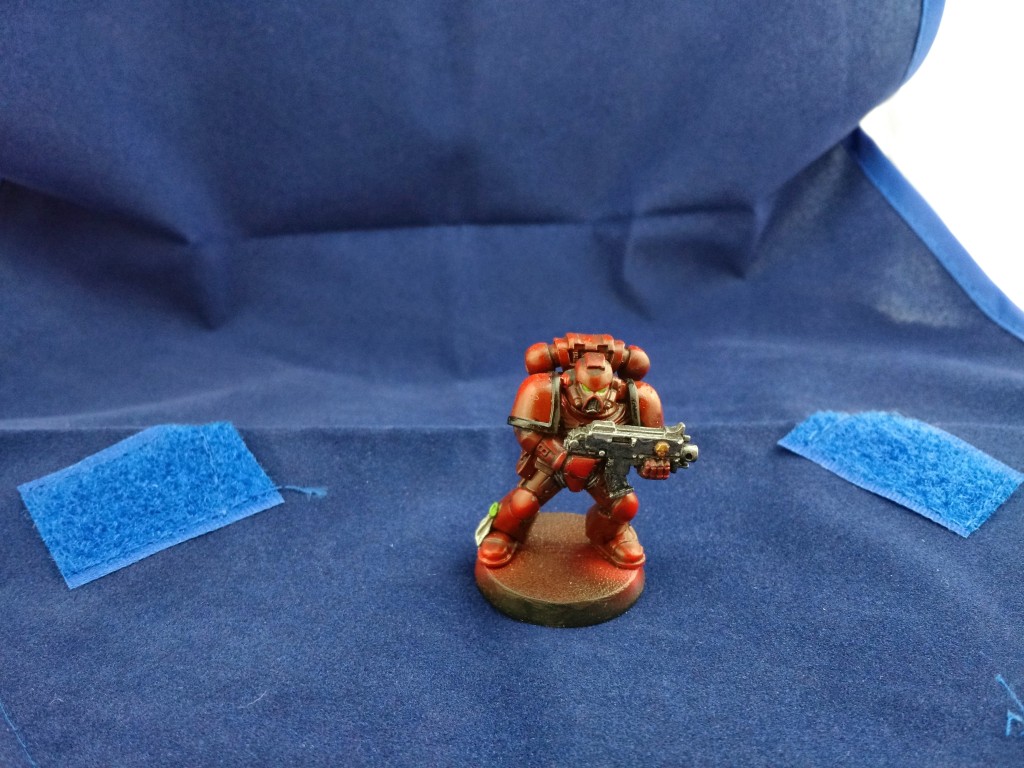
I play Blood Angels so that means lots of big flat red areas. I tried painting a few infantry flat with a wash which seems pretty standard, but it was just dissatisfying. So I tried the zenith highlighting with a red glaze and got considerably better effects.

