Everyone has their own techniques and methods for painting miniatures, and I always find it interesting to see how others like to work. Sharing ideas and different tricks and tips is how we all learn and get better at the hobby. In that vein, and and since I happen to be working on a unit of Ork warbikers I thought I would give a little insight in to my particular process.
paint guide
All posts tagged paint guide
So while I’m working on my Terminators I like to have a process driven, “easy” project going simultaneously.
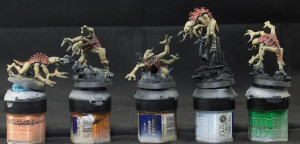
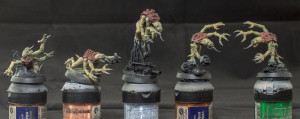
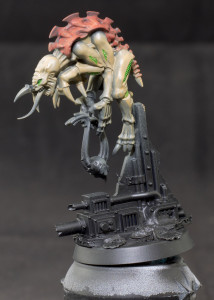
I airbrushed on some Vallejo Model Air Khaki Brown over a black primer for the skin.
My plan is to do the carapace in Vallejo Game Color Terracotta.
Vents and eyes in Minitaire Envy Green
I’ll paint the claws black and do a Citadel Bleached Bone highlight on the carapace.
I’ll tie it all together using the Vallejo Dark Brown wash over the whole figure.
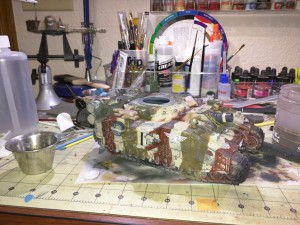
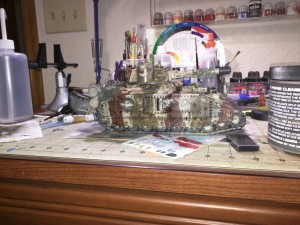
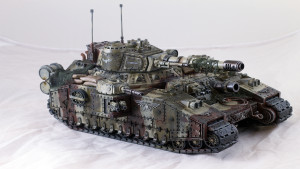
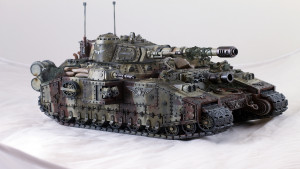
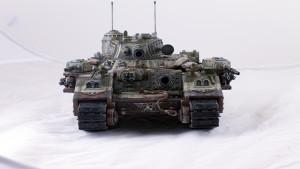
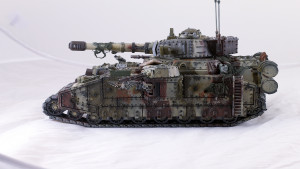
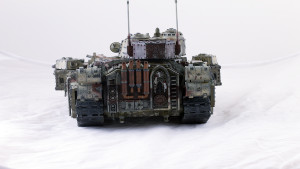
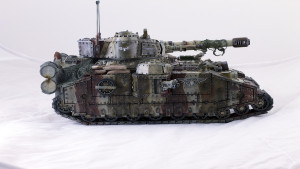
Since the last post most of the work has been weathering. The effects are Subtle but worthwhile. First step was to sponge on the base color of Vallejo Model Air Sand Yellow. This makes it look like the camo layers have been chipped down to the bottom coat of paint. Next Citadel Eshin Grey was sponged on to simulate the paint being chipped through clear to the primer. This was all sealed with a coat of Future floor polish.
After that I’ve applied an oil wash with a mixture of black and brown oil paint to the panel lines to give them more contrast as well as did a pin wash with oil to the heads of all the rivets. After about an hour I took a brush and I worked the oil paint into the surrounding area and dragged it downwards to give the weathering a sense of streaking.
From here I made a mixture of Brown oil paint and rust colored weathering powder and flicked it randomly on the model to create a few rust spots. These spots were sprayed with mineral spirits to blend them in with the paint. The running wheels were sprayed with a fresh coat of Dessert yellow paint and sealed with Future (I should have done this before the first time I hit it with future, there are no mistakes just changes in plans). The running wheels were then flooded with some mineral spirits and oil wash flowed into it, the extra mineral spirits on the running wheels makes sure the oil wash flows into the crevices. The rubber part of the wheels were painted with Valejo Model Color Black Grey. The barrels of the guns are painted with Citadel Warplock Bronze, Citadel leadbelcher was drybrushed over it.
I mixed some rust colored weathering powder with Citadel Calthan Brown paint and painted on the Exhaust stacks. A lighter rust powder was mixed into some brown oil wash and painted over the top of the exhaust stacks and the tow chain on the front.
This puts me where I’m at now! A lot of the work is done, I’ve got to do some work with dirt weathering powders on the tracks and the lower half of the tank. Lenses and lights need paint, and some soot to a few spots.
Previous posts in series
http://misterfairweather.blogspot.com/2015/05/baneblade-progress.html

