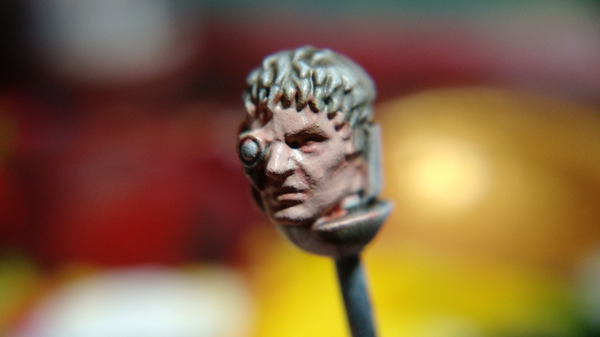
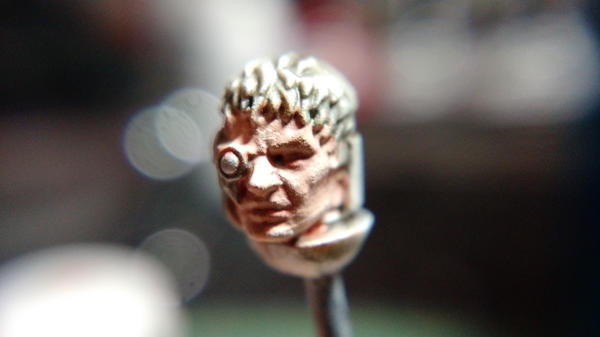
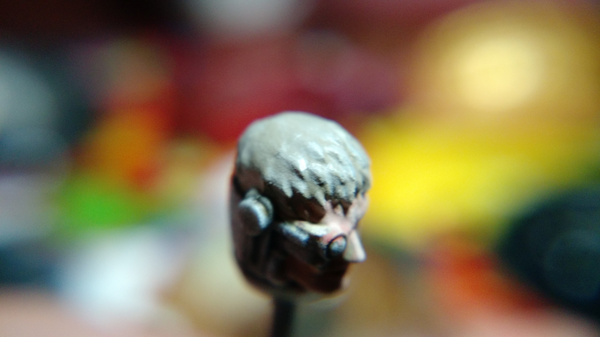
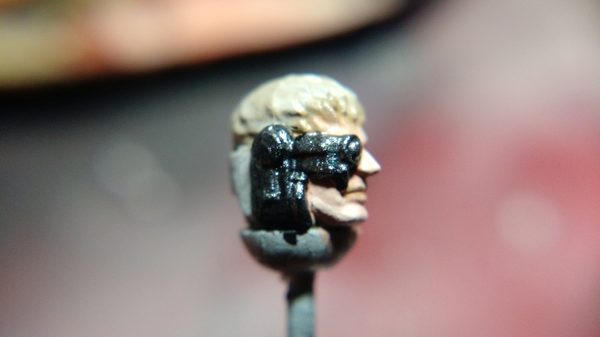
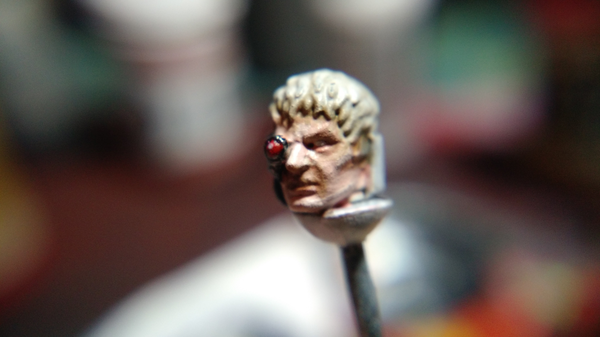
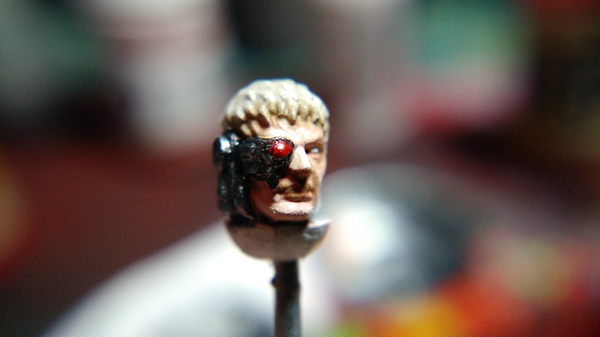
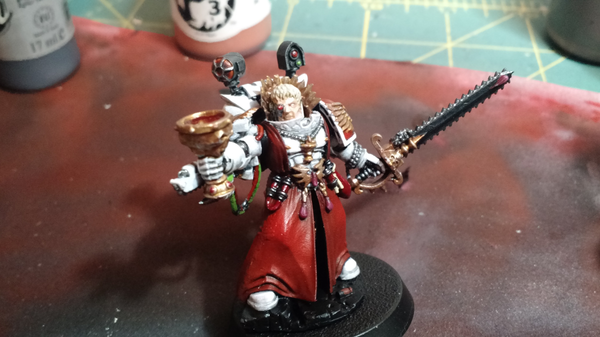
I’ve been working steadily on my Sanguinary Priest and its finally time to work on the face. Serendipitously, I found my macro lens for my phone, so we are going to get some extreme closeups. The photos make the surface of the model look a bit gritty, but it’s well within normal.
I always try to paint heads separate from their bodies, just because its easier overall. There is so much detail packed into such a small canvas and it really requires a lot of subtlety. This approach is by no means fast, but it does get results that I am pretty happy with.
Step 1: Prepping the Subject
If you’re painting the head separately, you are going to want something to hang onto. I shoved a paperclip into a cork and it makes a pretty fine post. Just drill a small hole on the bottom of the head and pop it on the stick. You may need to carve out the hole or use some glue depending on how close in size your bit is to your post.
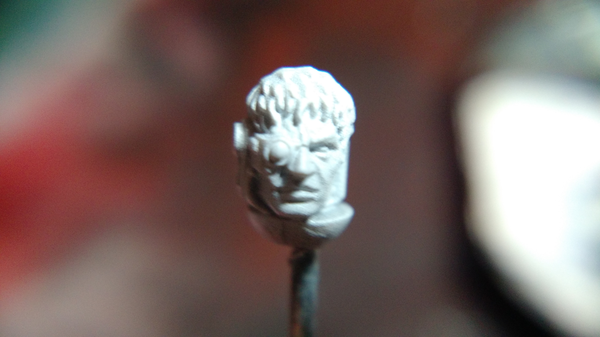
Then prime white. I generally prime everything black and then do some basic zenith highlighting for my models, but for heads, especially human Caucasian heads, white is optimal.
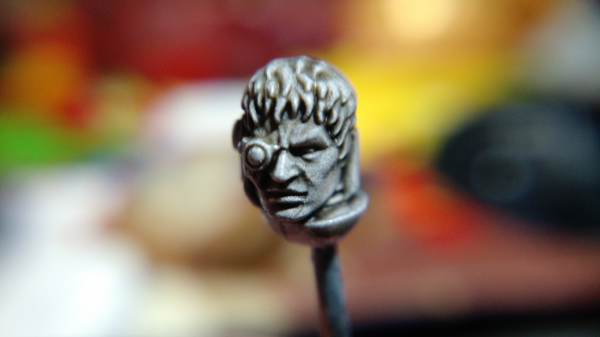
To make it easier to see the edges and recesses, I do a pre-shade with black wash. This time I tested a sepia wash first, but ended up using a black wash afterwards. The results will be basically the same if you only use black though.
Step 2: Base that Face
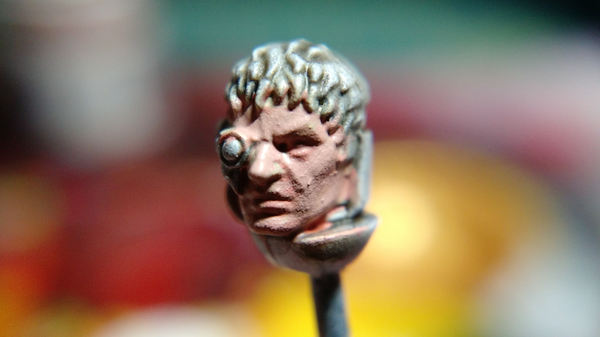
I used a well diluted P3 Khardic Flesh and gave it about 2-3 coats.
Next I used a well diluted P3 Midlund Flesh and hit 90% of the face, but trying to avoid the crevices near the nose, lips, cheek bone, and eye.
Step 3: Just the Highlights
The the first set of highlights I used about 1:1 P3 Midlund Flesh and P3 Menoth Highlight, again very dilute. Hit the top of the cheek bone, the top and edges of the nose, the jaw line, and a bit to the forehead. Pay close attention to the details of the model. This guy has a nice cleft in his chin, so I highlighted both sides of it separately.
Then I added a bit more P3 Menoth Highlight to my mix. About a 1:2 ratio now. Just hit the very edges of the same areas we hit previously.
Step 4: Wash that Face
Use a nice Sepia Wash and put just a bit on the mouth, the crevice next to the nose, and just under the eye.
Sadly, I didn’t take a picture at this stage, but that’s the last step! Everything after this point is about doing the rest of the head.
Step 5: Set Phazers for Blonde
All the Blood Angels are apparently Blonde to be closer to their Primarch, or some such. At first I thought this color would be hard, but it’s not too bad.
First, base with P3 Menoth Base, well diluted and 2-3 coats.
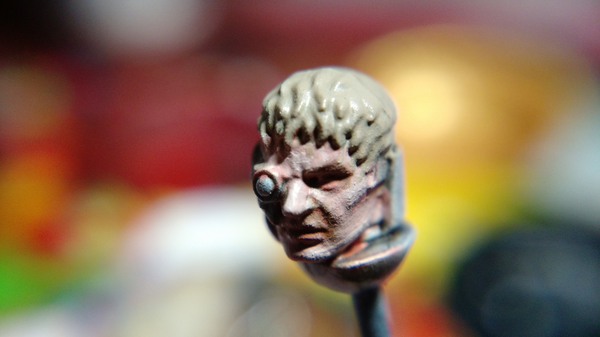
Second, hit all the tips with P3 Menoth Highlight. Also, add some light streaking to the top to make it feel like there is kind of a hair texture.
Then use a Sepia Wash on the bangs to help distinguish them from the face. Also, add it anywhere else in the hair that looks like it can use a little more depth.

While I was waiting for the wash to dry, I also based his face tech.
Step 6: Machining the Face
These guys always have various pieces of tech stuck to their noggins. My favored “white” metal approach right now is 4 layers.
- Base Black
- Coat MVA Black Metal
- Highlight MVA Gun Metal
- Dry Brush Citadel Necron Compound
Step 7: The Eye and The Lens
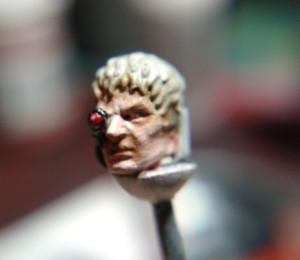
OK, I slightly lied about the face being done. Dab on just a touch of white on the eye. No trick here, just steady hands and a fine point.
Also coat the lens on the there eye with white. Whichever white.
For the lens, hit it with VMA Fire Red, then highlight the bottom right crescent with VMA Ferarri Red. Then add just a touch of VMA Light Red on the very outside of the same crescent. Finish with a small dot of white on the top left corner.
I usually slop a bit over the edge, so definitely go back and clean that up. Good lines make everything look so much better.
Finish
Here is the finished (save for the base) Sanguinary Priest all assembled.

