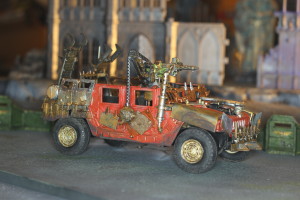
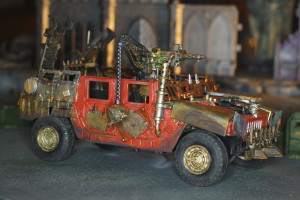
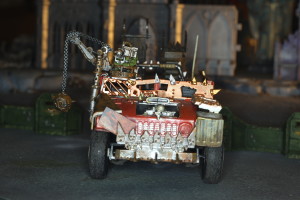
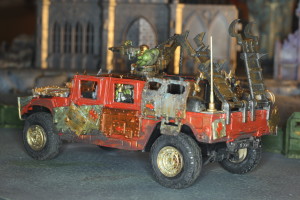
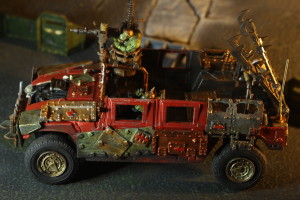
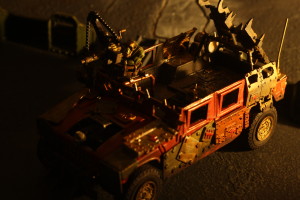
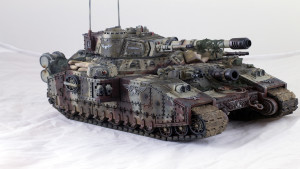
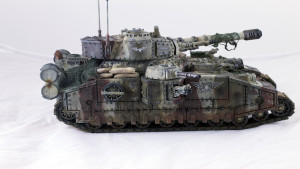
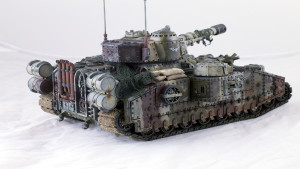
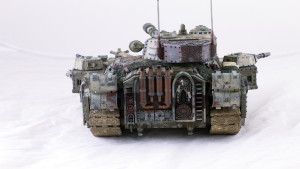
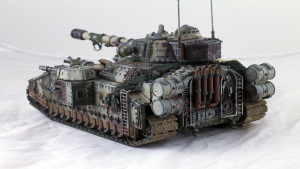
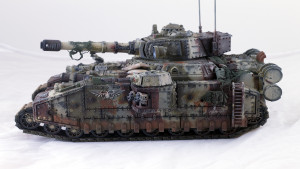
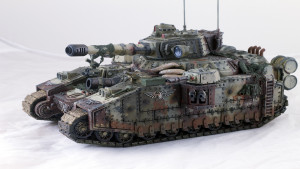
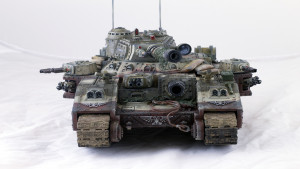
Summer 2015 Painting competition entry Ork Trukk
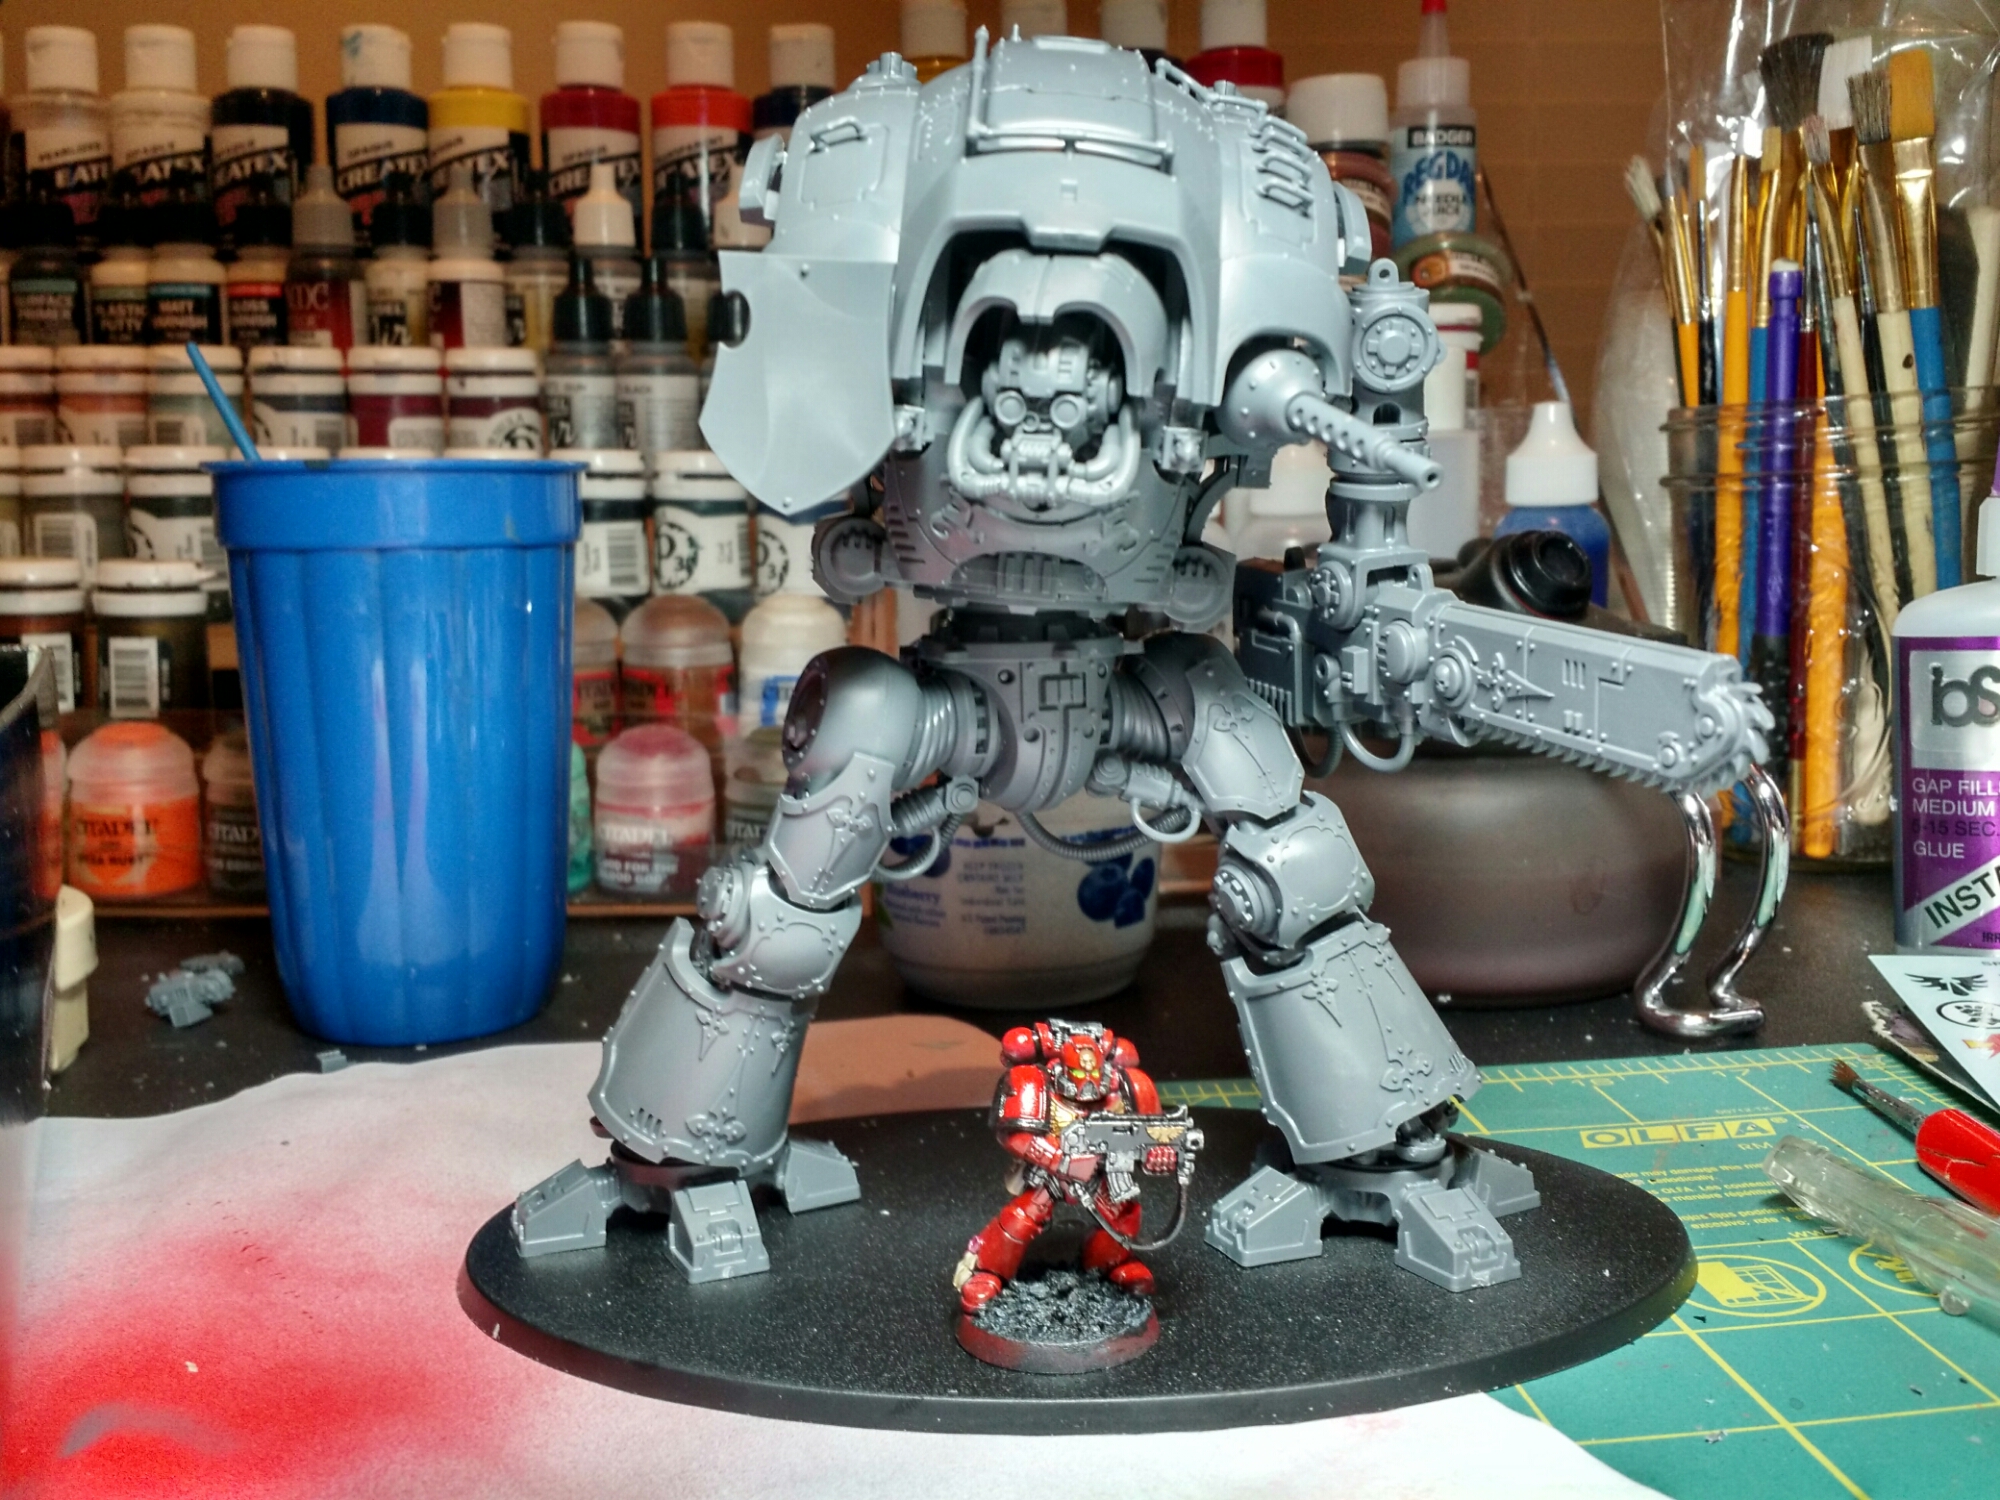
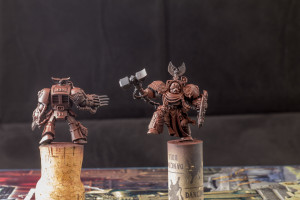
The Imperial Knights are such cool models that I got a bit overexcited and assembled the whole thing before touching the paint at all. This had consequences that have made this painting project more interesting than it would have been otherwise. The articulation was a big selling point for this model, so I left all the joints as mobile as possible and left the shoulders and waist unglued. I also magnetized the base so I could more easily stage the model, but attach him to the base for game play. I plan on playing this model with my Blood Angels, and I just think the red tones just look badass on these guys, so I’m going to paint him up like he belongs there. I learned a lot from my Dreadnought experiment previously and decided to try just layering the reds directly, instead of tinting over greyscale.
Introduction
This match was a prep game for a 1000pt tournament we are playing in a few weeks which is based on the ITC Bay Area Open rules. The scenario we chose was BAO Scenario 1, which is a modified version of Emperor’s Will including some modified maelstrom rules.
Logan brought his Farsight Enclave and I brought Blood Angels. The board had very little LOS blocking terrain, which was certain to play to the Tau’s advantages.
We both rolled on Strategic Warlord Traits table. Tau got Divide to Conquer, giving me a minus to reserve rolls, harsh with that Stormraven sitting on the side lines. I rolled Strategic Genius, giving a bonus to seize the initiative and reroll reserves, so it balanced out.
He placed his Primary Objective token on his side, I placed mine in a nearly mirror position on my side. He placed the first Maelstrom Objective atop the western ruined buildings, I placed one next to the ruined shrine.
He rolled to deploy first.
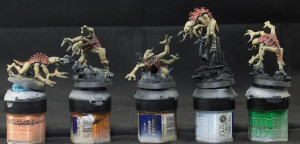
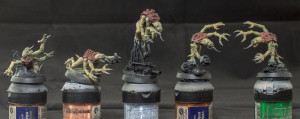
So while I’m working on my Terminators I like to have a process driven, “easy” project going simultaneously.
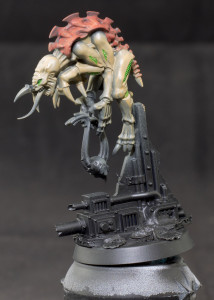
I airbrushed on some Vallejo Model Air Khaki Brown over a black primer for the skin.
My plan is to do the carapace in Vallejo Game Color Terracotta.
Vents and eyes in Minitaire Envy Green
I’ll paint the claws black and do a Citadel Bleached Bone highlight on the carapace.
I’ll tie it all together using the Vallejo Dark Brown wash over the whole figure.
The venerable Drop Pod is an iconic part of the 40k landscape. Slamming into the battlefield, unloading squads of space marines ready to destroy the xeno threat. I assume that after a victory a great ship comes in to scoop them up, clean them up, and ready them for further deployment. But what about when the marines fail, what happens to all those Drop Pods when the battle has been lost.
With my great Road Waaagh!!! nearly complete, I’ve started turning my attention towards building some terrain to give the battlefield as much character as the models playing across it. Having enjoyed the Dawn of War games I decided a Waaagh!!! Tower would be a nice place to start. Being that Orks are scavengers, a Drop Pod seemed like a perfect starting point.
The kit I used is actually a resin recast. I went that direction partly because using an actual kit seemed a little pricy for this purpose, and partly because the recast was already pitted and damaged which aided my purposes. Of course I went back at it with a drill and xacto knife to give it plenty of battle damage. Once it was assembled, I started adding pieces from the Syberclicks set I reviewed last week to build up the portions I imagined Orks would have built up around the ruined pod.
As I mentioned in that review the pieces in the kit look great, but the clips used to keep it all together left a lot to be desired. For this project I used tried and true superglue, and layered the panels to look like they had been peicemealed together. I also went with a variety of different sized panels for the railings to maximize the rambshackle thrown together look.
For a base I started with a piece of ten by ten HDF board, it gives a nice sturdy foundation. Then once I had a template for the drop pod traced, I started layering cork board. I wanted to give the look of cracked earth from the Drop Pod initially hitting the battlefield. Hot glue was used to round out some of the edges, and then I hit everything with a sander to smooth things a bit before putting down several layer of different sized sand and gravel.
With all of the construction complete I had a pretty decent looking tower. I’ll cover painting it up next time.
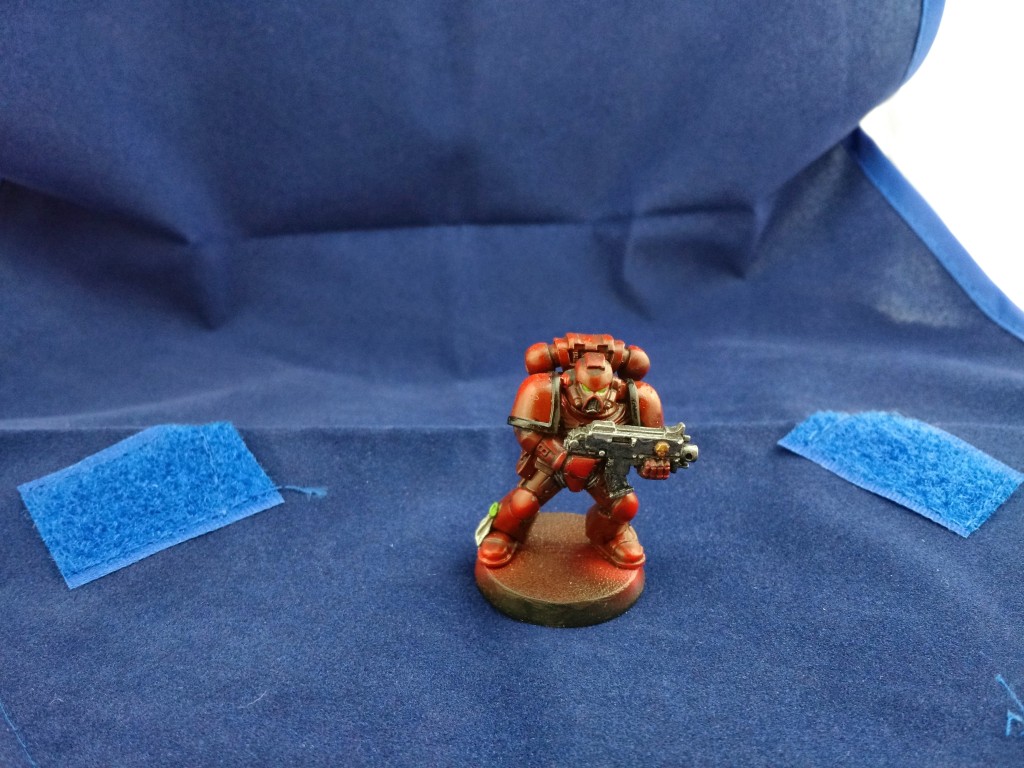
I play Blood Angels so that means lots of big flat red areas. I tried painting a few infantry flat with a wash which seems pretty standard, but it was just dissatisfying. So I tried the zenith highlighting with a red glaze and got considerably better effects.
I wanted a Neutral-Evil T-shirt so I had one made! They’re available if anyone is interested http://www.zazzle.com/neutral_evil
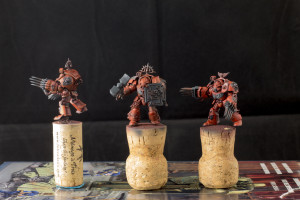
I started on my Blood Angel Assault Terminators, I’m trying to do a similar paint job to my earlier Captain Karlaen however I stupidly forgot to document how the heck I did such a great job.
First step was a 2 tone priming. I applied Vallejo Surface Primer Black, and after it dried I applied Vallejo Surface Primer German Red Brown from the top.
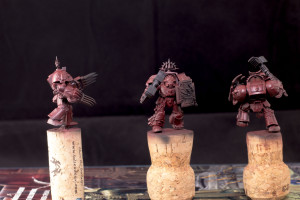
Blood Angel Assault Terminators Base Coated with Minitaire Nebula Red
Next I applied a thin layer of Minitaire Nebula Red
through the airbrush. After several comparisons I find when run dilute through the airbrush it compares extremely closely to the Citadel Mephiston Red. I run this basecoat with a thin layer that way the dark undercoat and any highlighting by the primer shines through.
Next I did a thin Highlight over most of the model with Citadel Blood Red, I also did one with Vallejo Model Color Red just to compare the two colors. They’re so close to each other that I cannot tell the difference so it just comes down to preference. I also put a layer of Vallejo Model Color Black Grey with a touch more black blended into it on all the places that later I’m going to paint either “black” or metallic.
This week I plan on finishing the Blood Red highlights on the last two figures and pick out further base layers, tabards, purity seals, Gold details etcetera.
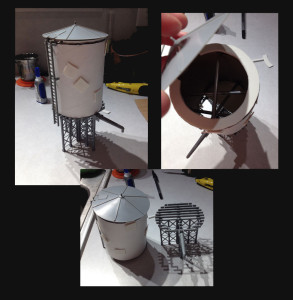
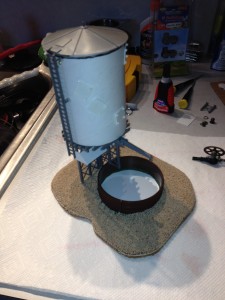
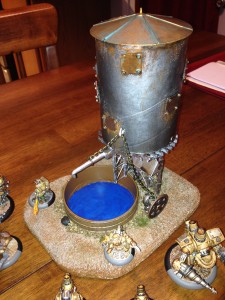
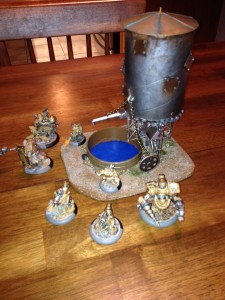
I am in the middle of another project but I really wanted to keep my one post a week schedule going, so I thought I would give you all a glimpse at an older project of mine. Before I dove into the world of Orks and 40k, I tested the war game waters with Warmachine. Along with my first miniature painting work, this period also saw my first efforts at a terrain project. Since Warmachine tends to only need a handful of dice, I decided to incorporate a dice tower into its construction.
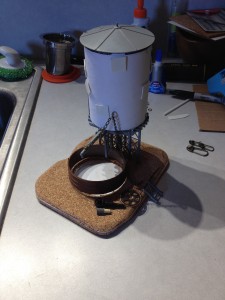
The basic build consisted of a poster tube and parts from a Bachmann Trains O scale water tower kit. Detail elements and the dice tower internals came from plasticard and parts from my bits bin. The final element of any good terrain piece is the base and I built this one before I had really started playing with HDF board. As a result, it is just two layers of corkboard with a piece of plasticard sandwiched between them for structural integrity. This was also necessary to create a watertight seal for another special feature I wanted to try.
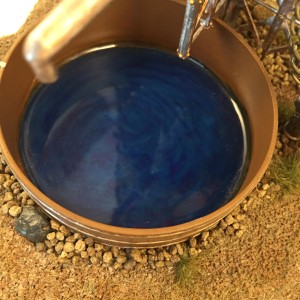
Inside the water trough/dice catch, I decided to try out water effects for the first time. I went with Woodland Scenics Realistic Water because the reviews pointed towards it creating a very durable surface. I found it to be an easy to use product; you lay down thin 1/8 inch layers of clear resin and give each one roughly 24 hours to cure. I painted the base a light blue to start with and then put down thin streaks of blue ink between layers to give the water a sense of depth and motion.
Once I was ready to start the actual painting process, I started with a variety of basic browns and metallics from P3 paints. This was also the first project on which I experimented with Citadel’s technical line. In particular, I used Ryza Rust, Typhus Corrosion, and Nihilakh Oxide all too excellent effect in giving the tower a weathered and worn look. I was especially proud of the oxidized effect on the bronze roof.
There was a lot of experimentation involved on this project and I learned a lot from it. Never be afraid to try new techniques.

