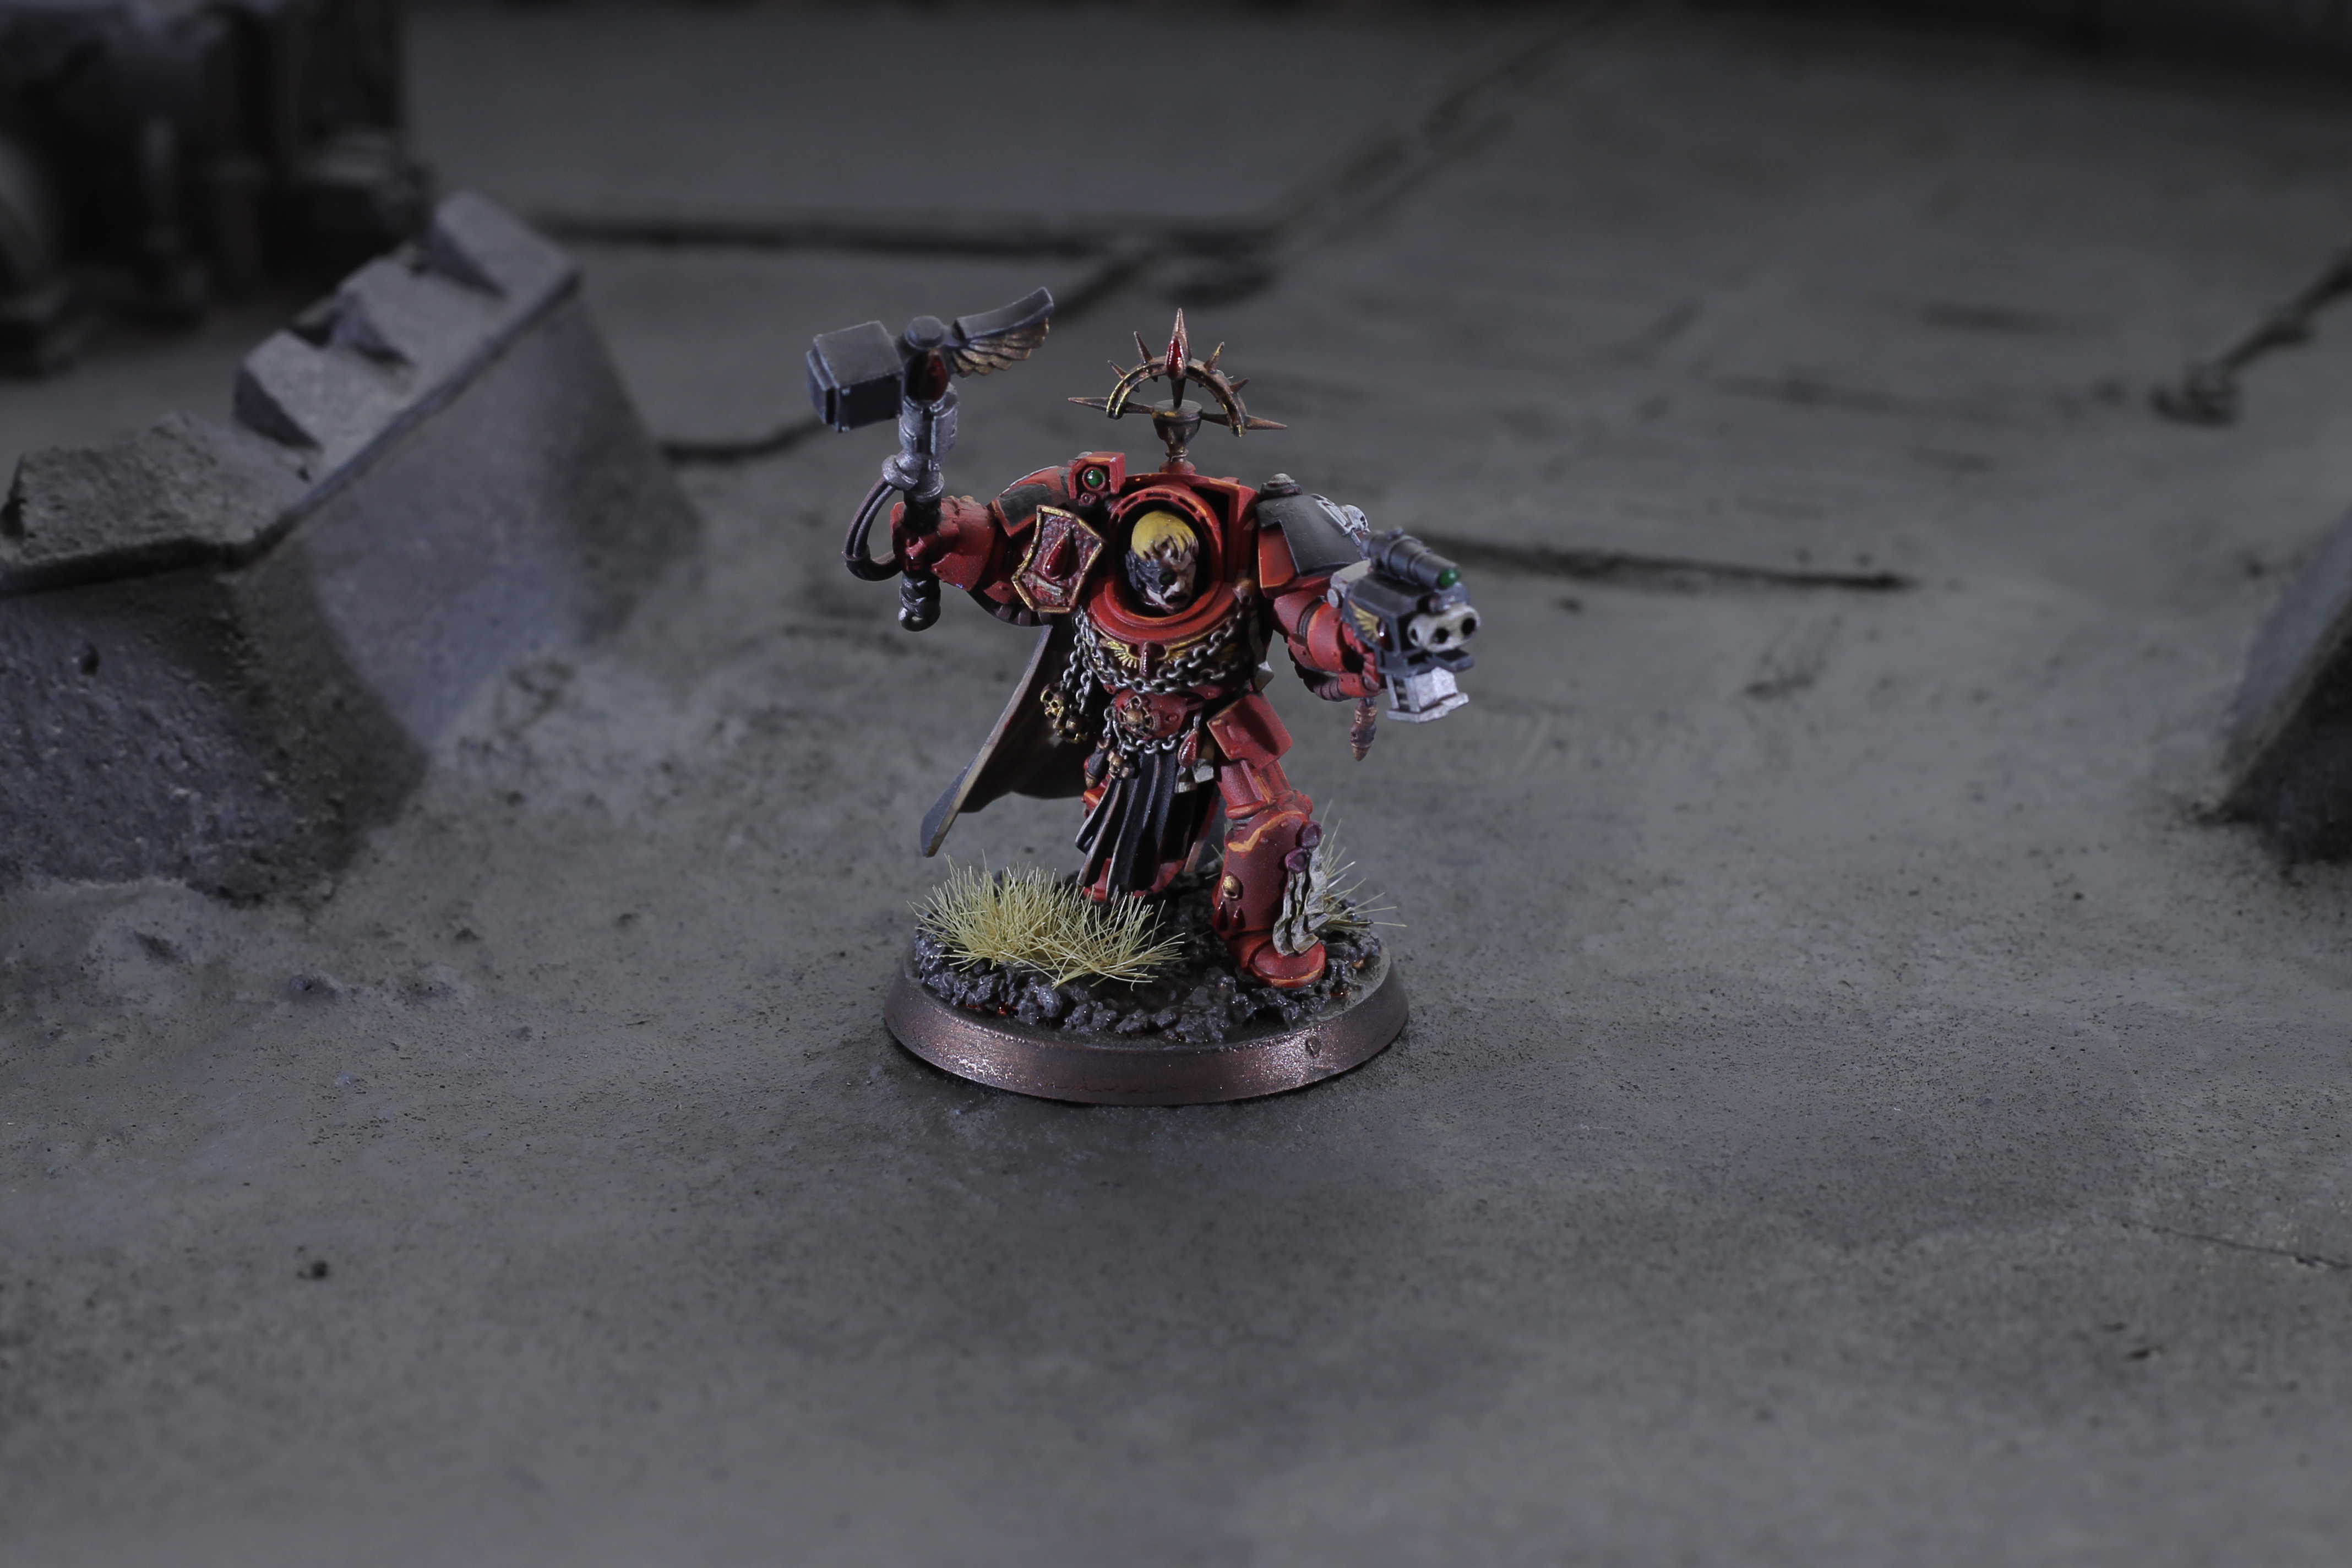
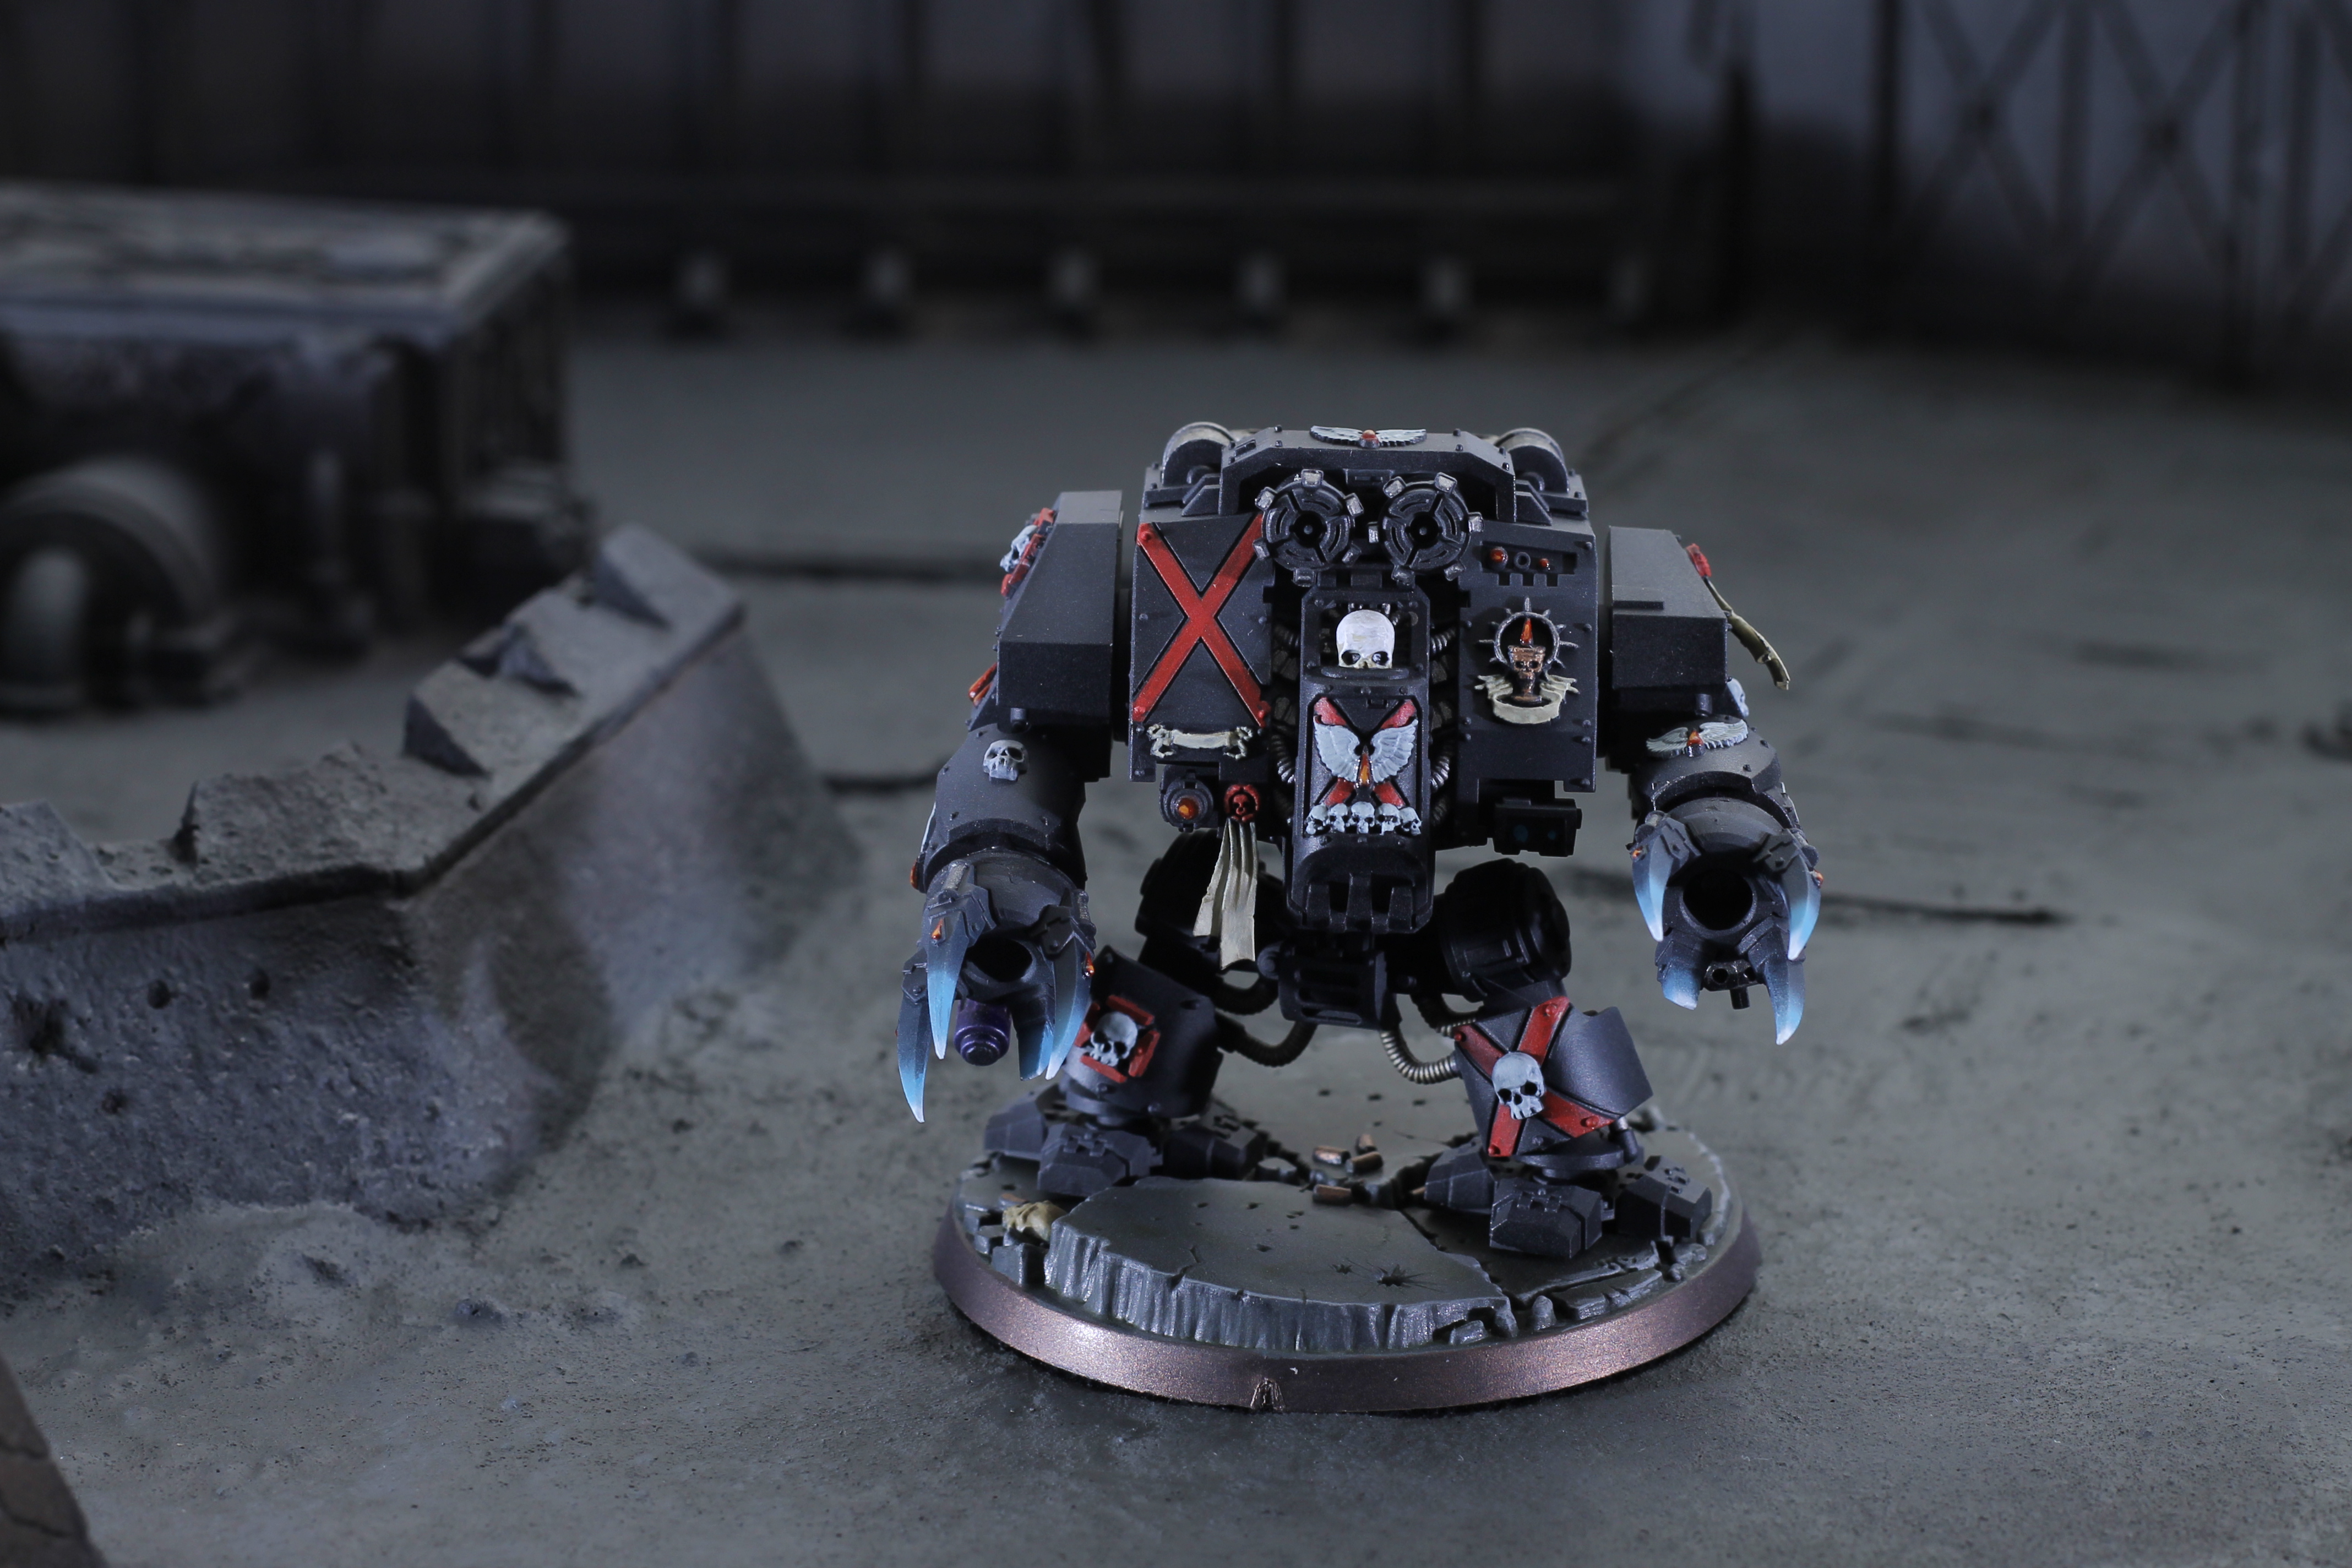
I started on my Blood Angel Assault Terminators, I’m trying to do a similar paint job to my earlier Captain Karlaen however I stupidly forgot to document how the heck I did such a great job.
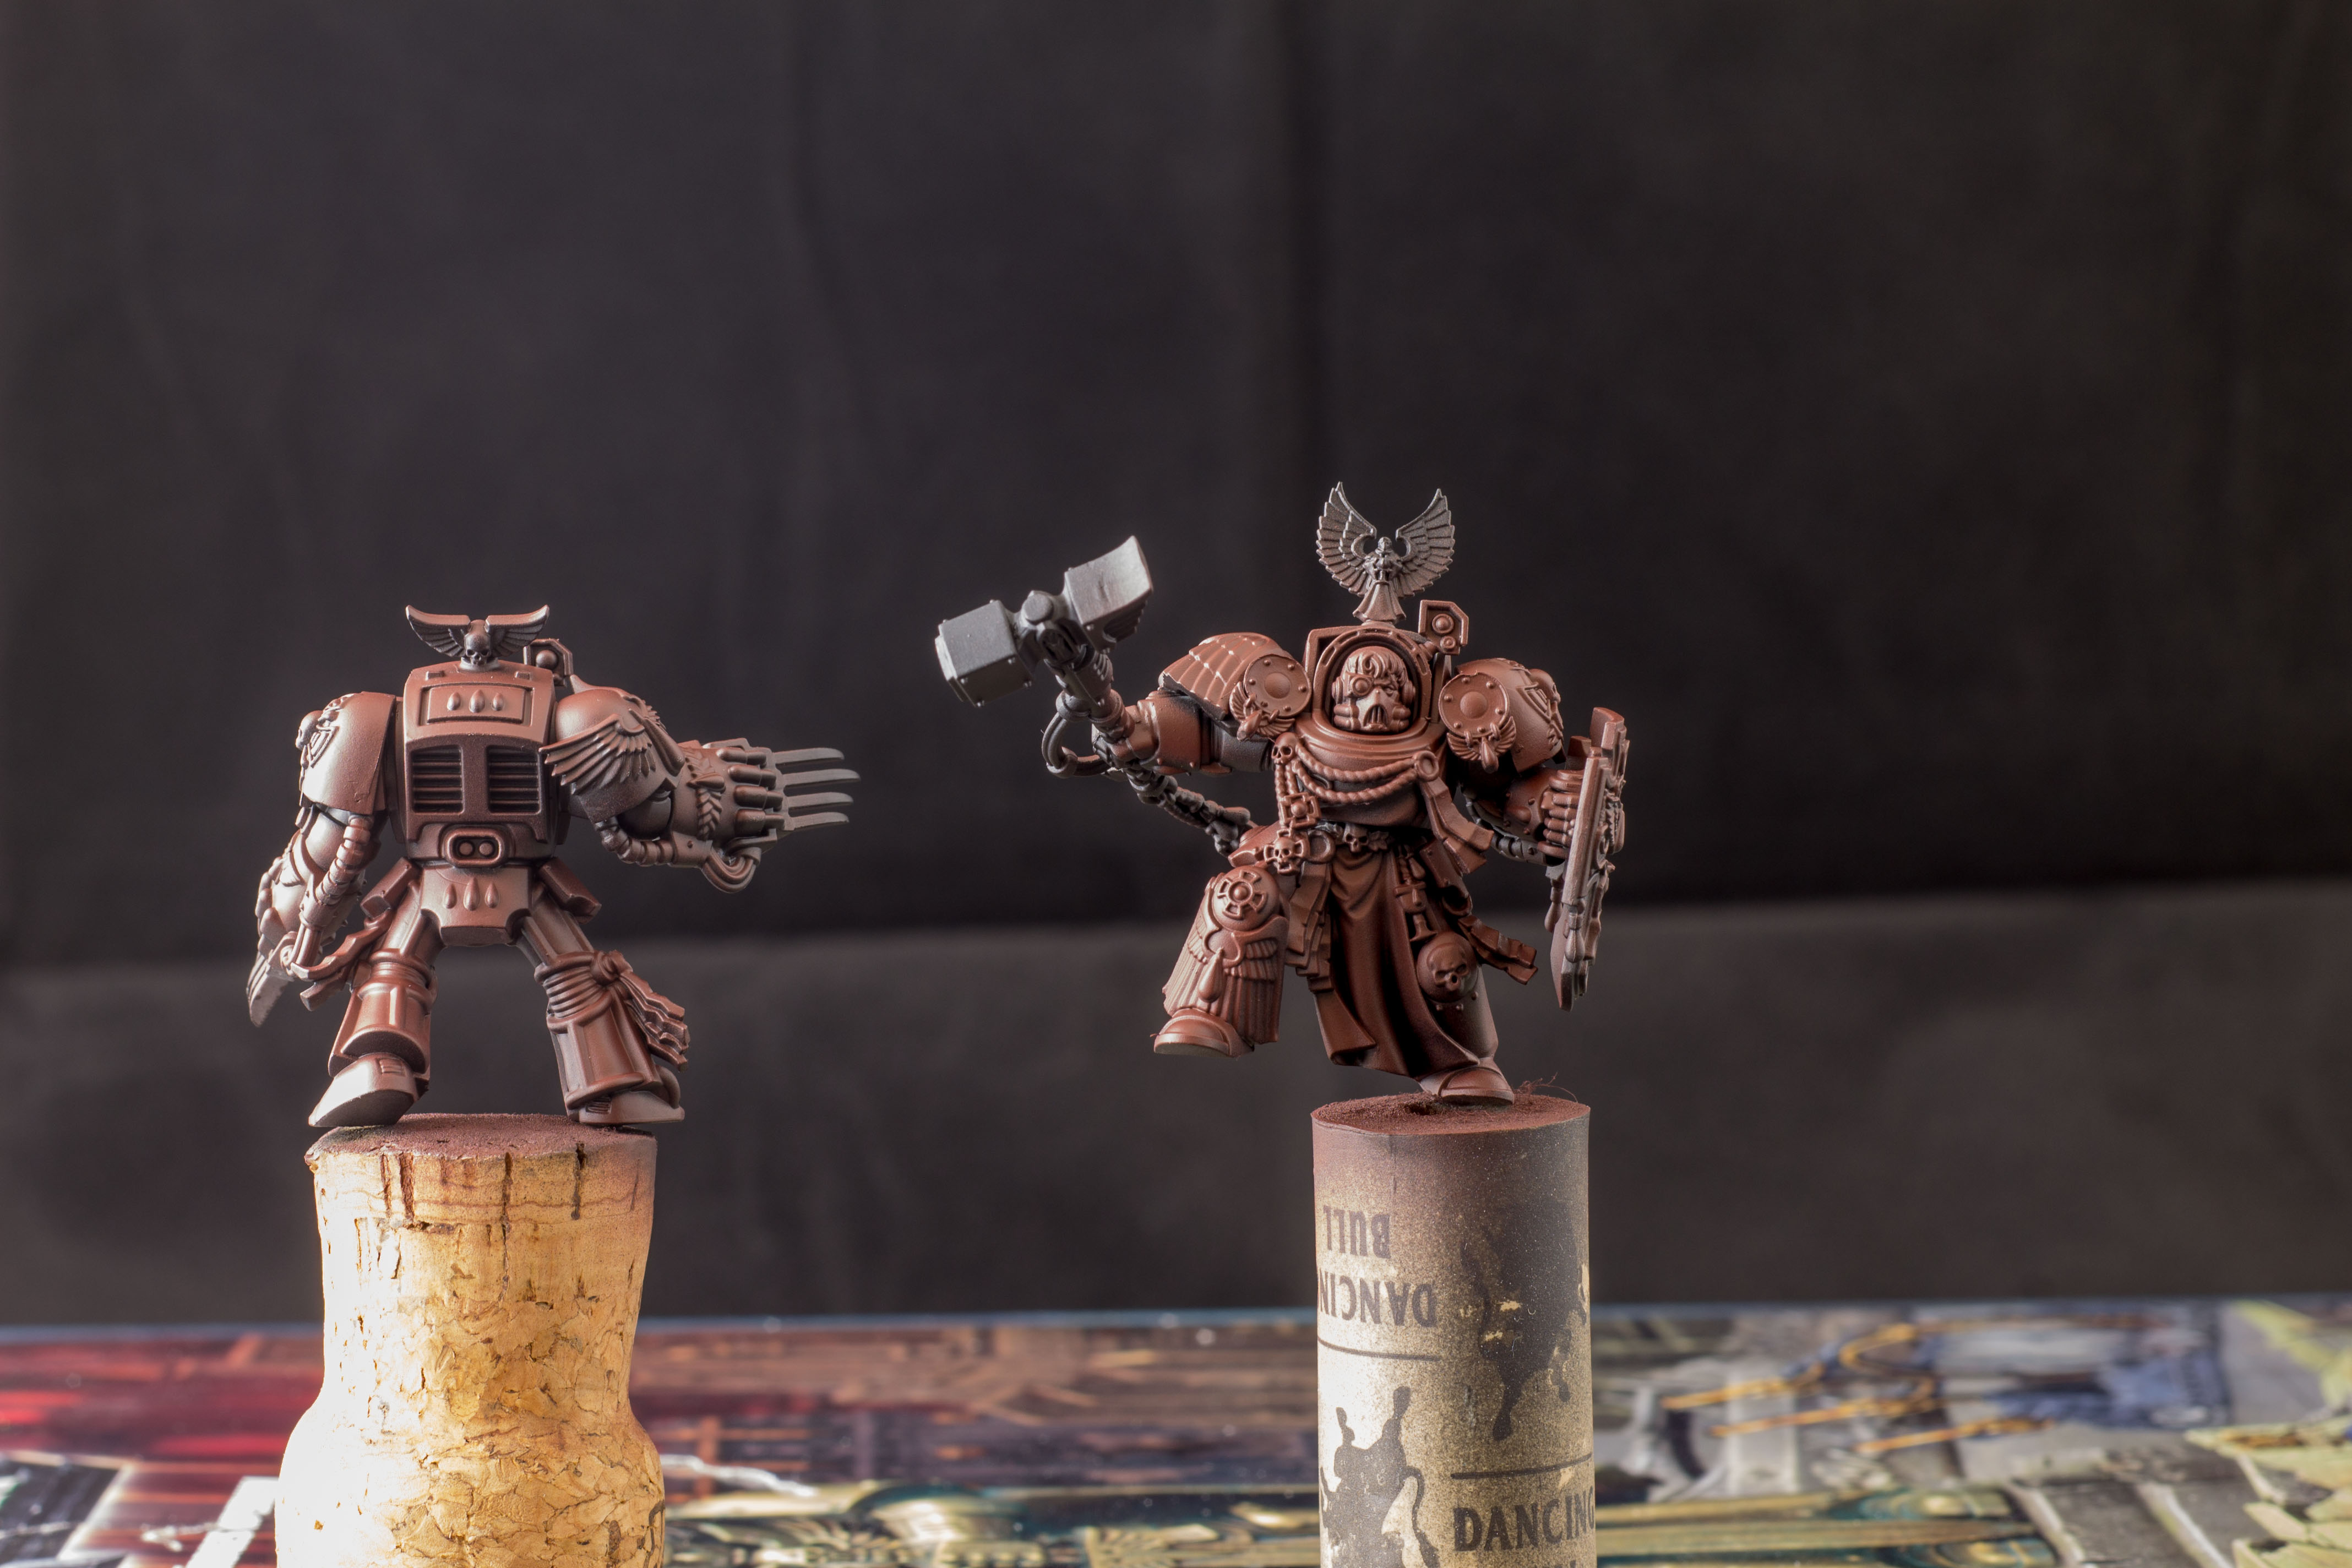
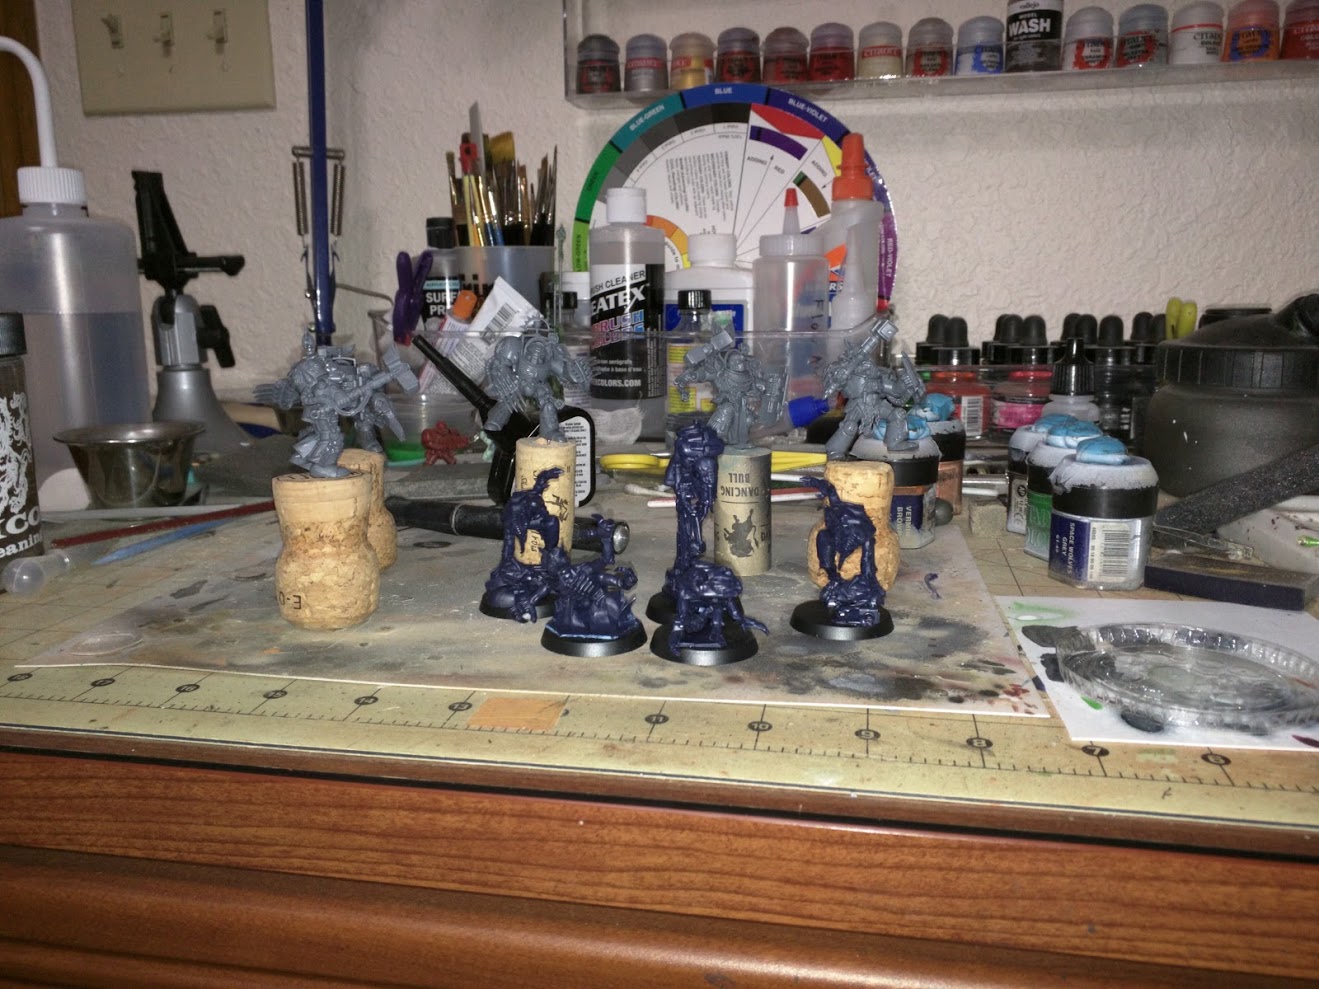
2 Tone Prime, Vallejo Urethane Primer Black and Vallejo Urethane Primer German Red Brown
First step was a 2 tone priming. I applied Vallejo Surface Primer Black, and after it dried I applied Vallejo Surface Primer German Red Brown from the top.

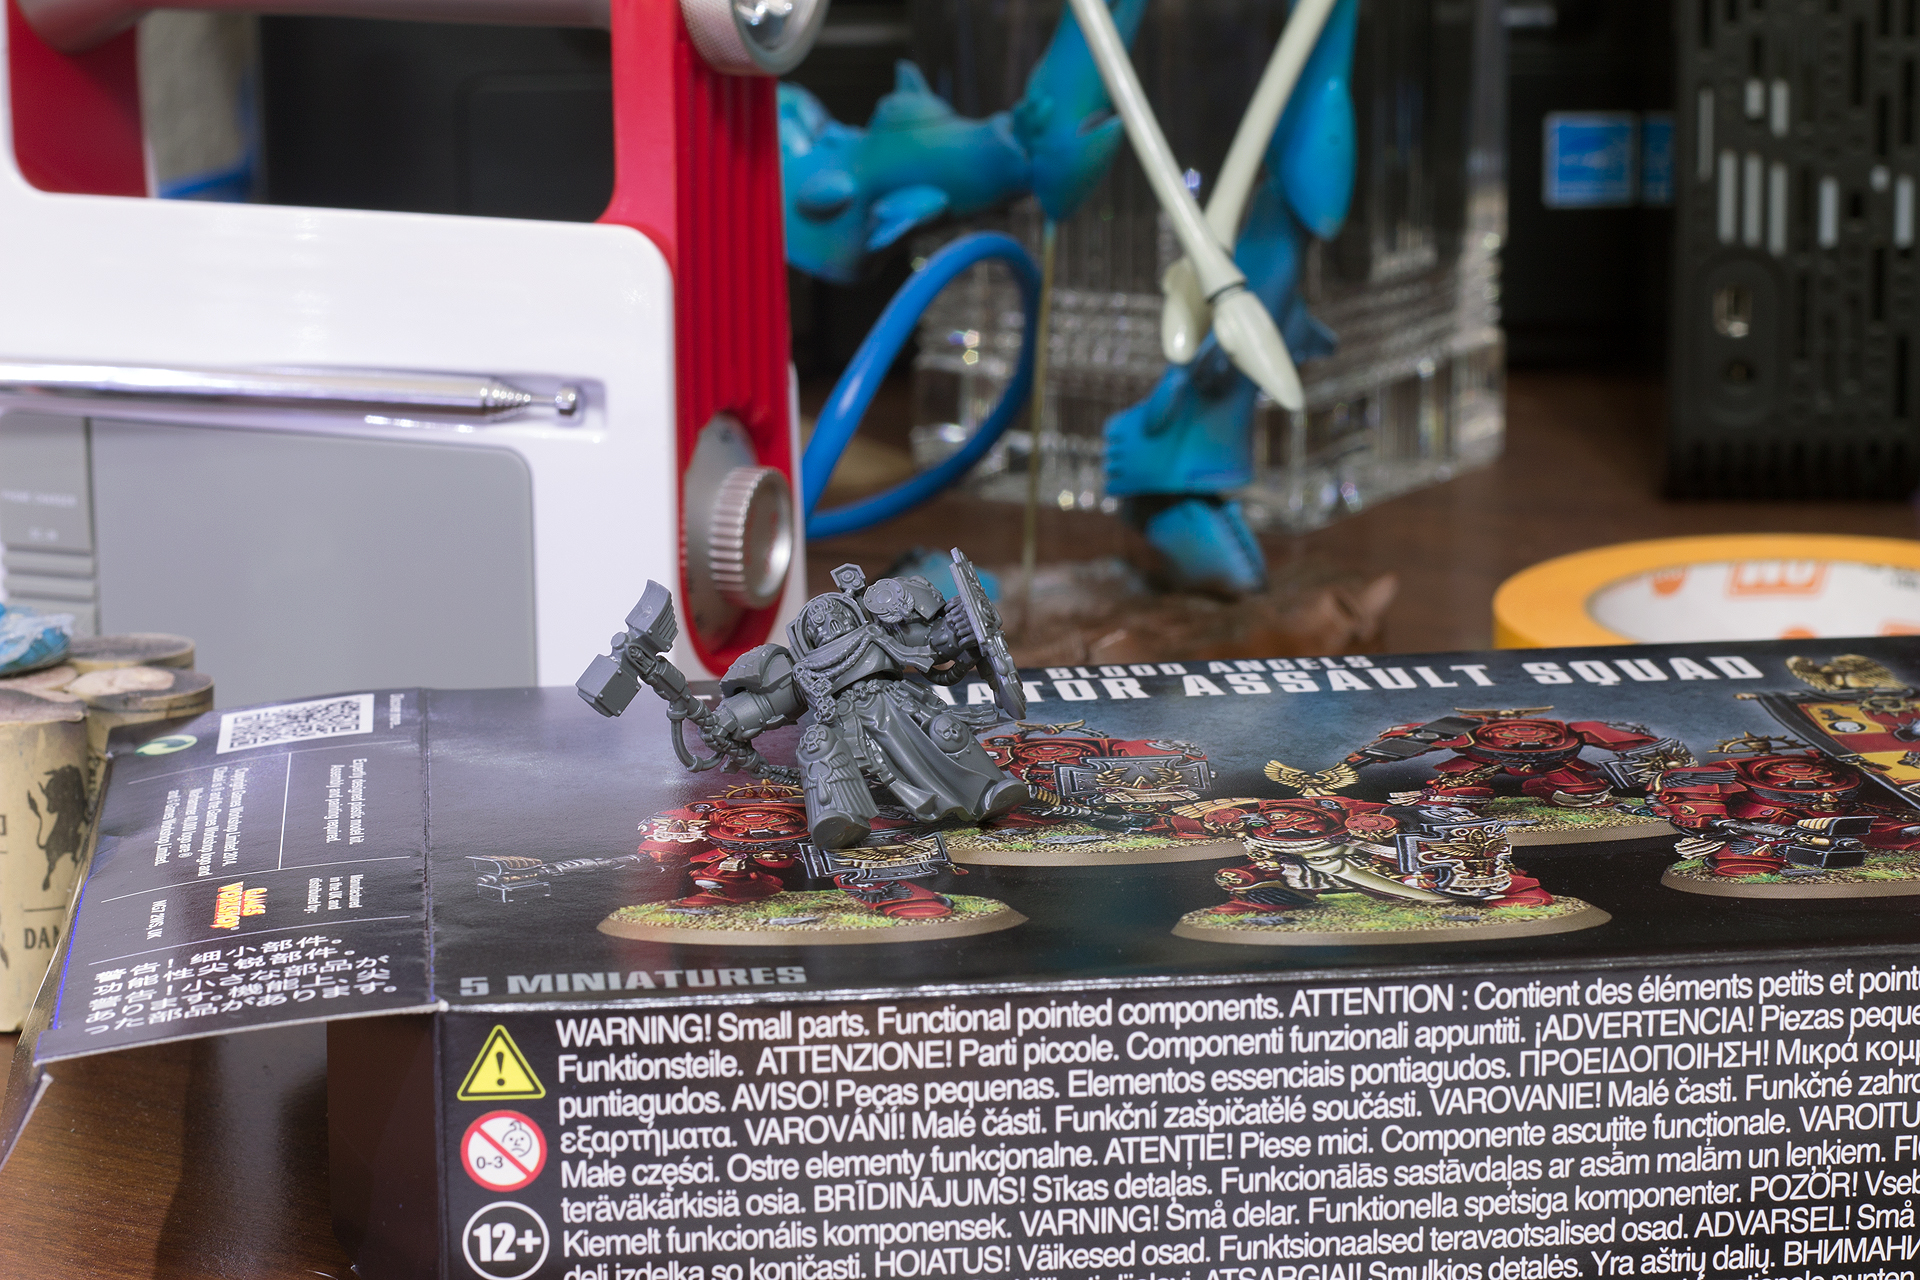
Blood Angel Assault Terminators Base Coated with Minitaire Nebula Red
Next I applied a thin layer of Minitaire Nebula Red
through the airbrush. After several comparisons I find when run dilute through the airbrush it compares extremely closely to the Citadel Mephiston Red. I run this basecoat with a thin layer that way the dark undercoat and any highlighting by the primer shines through.
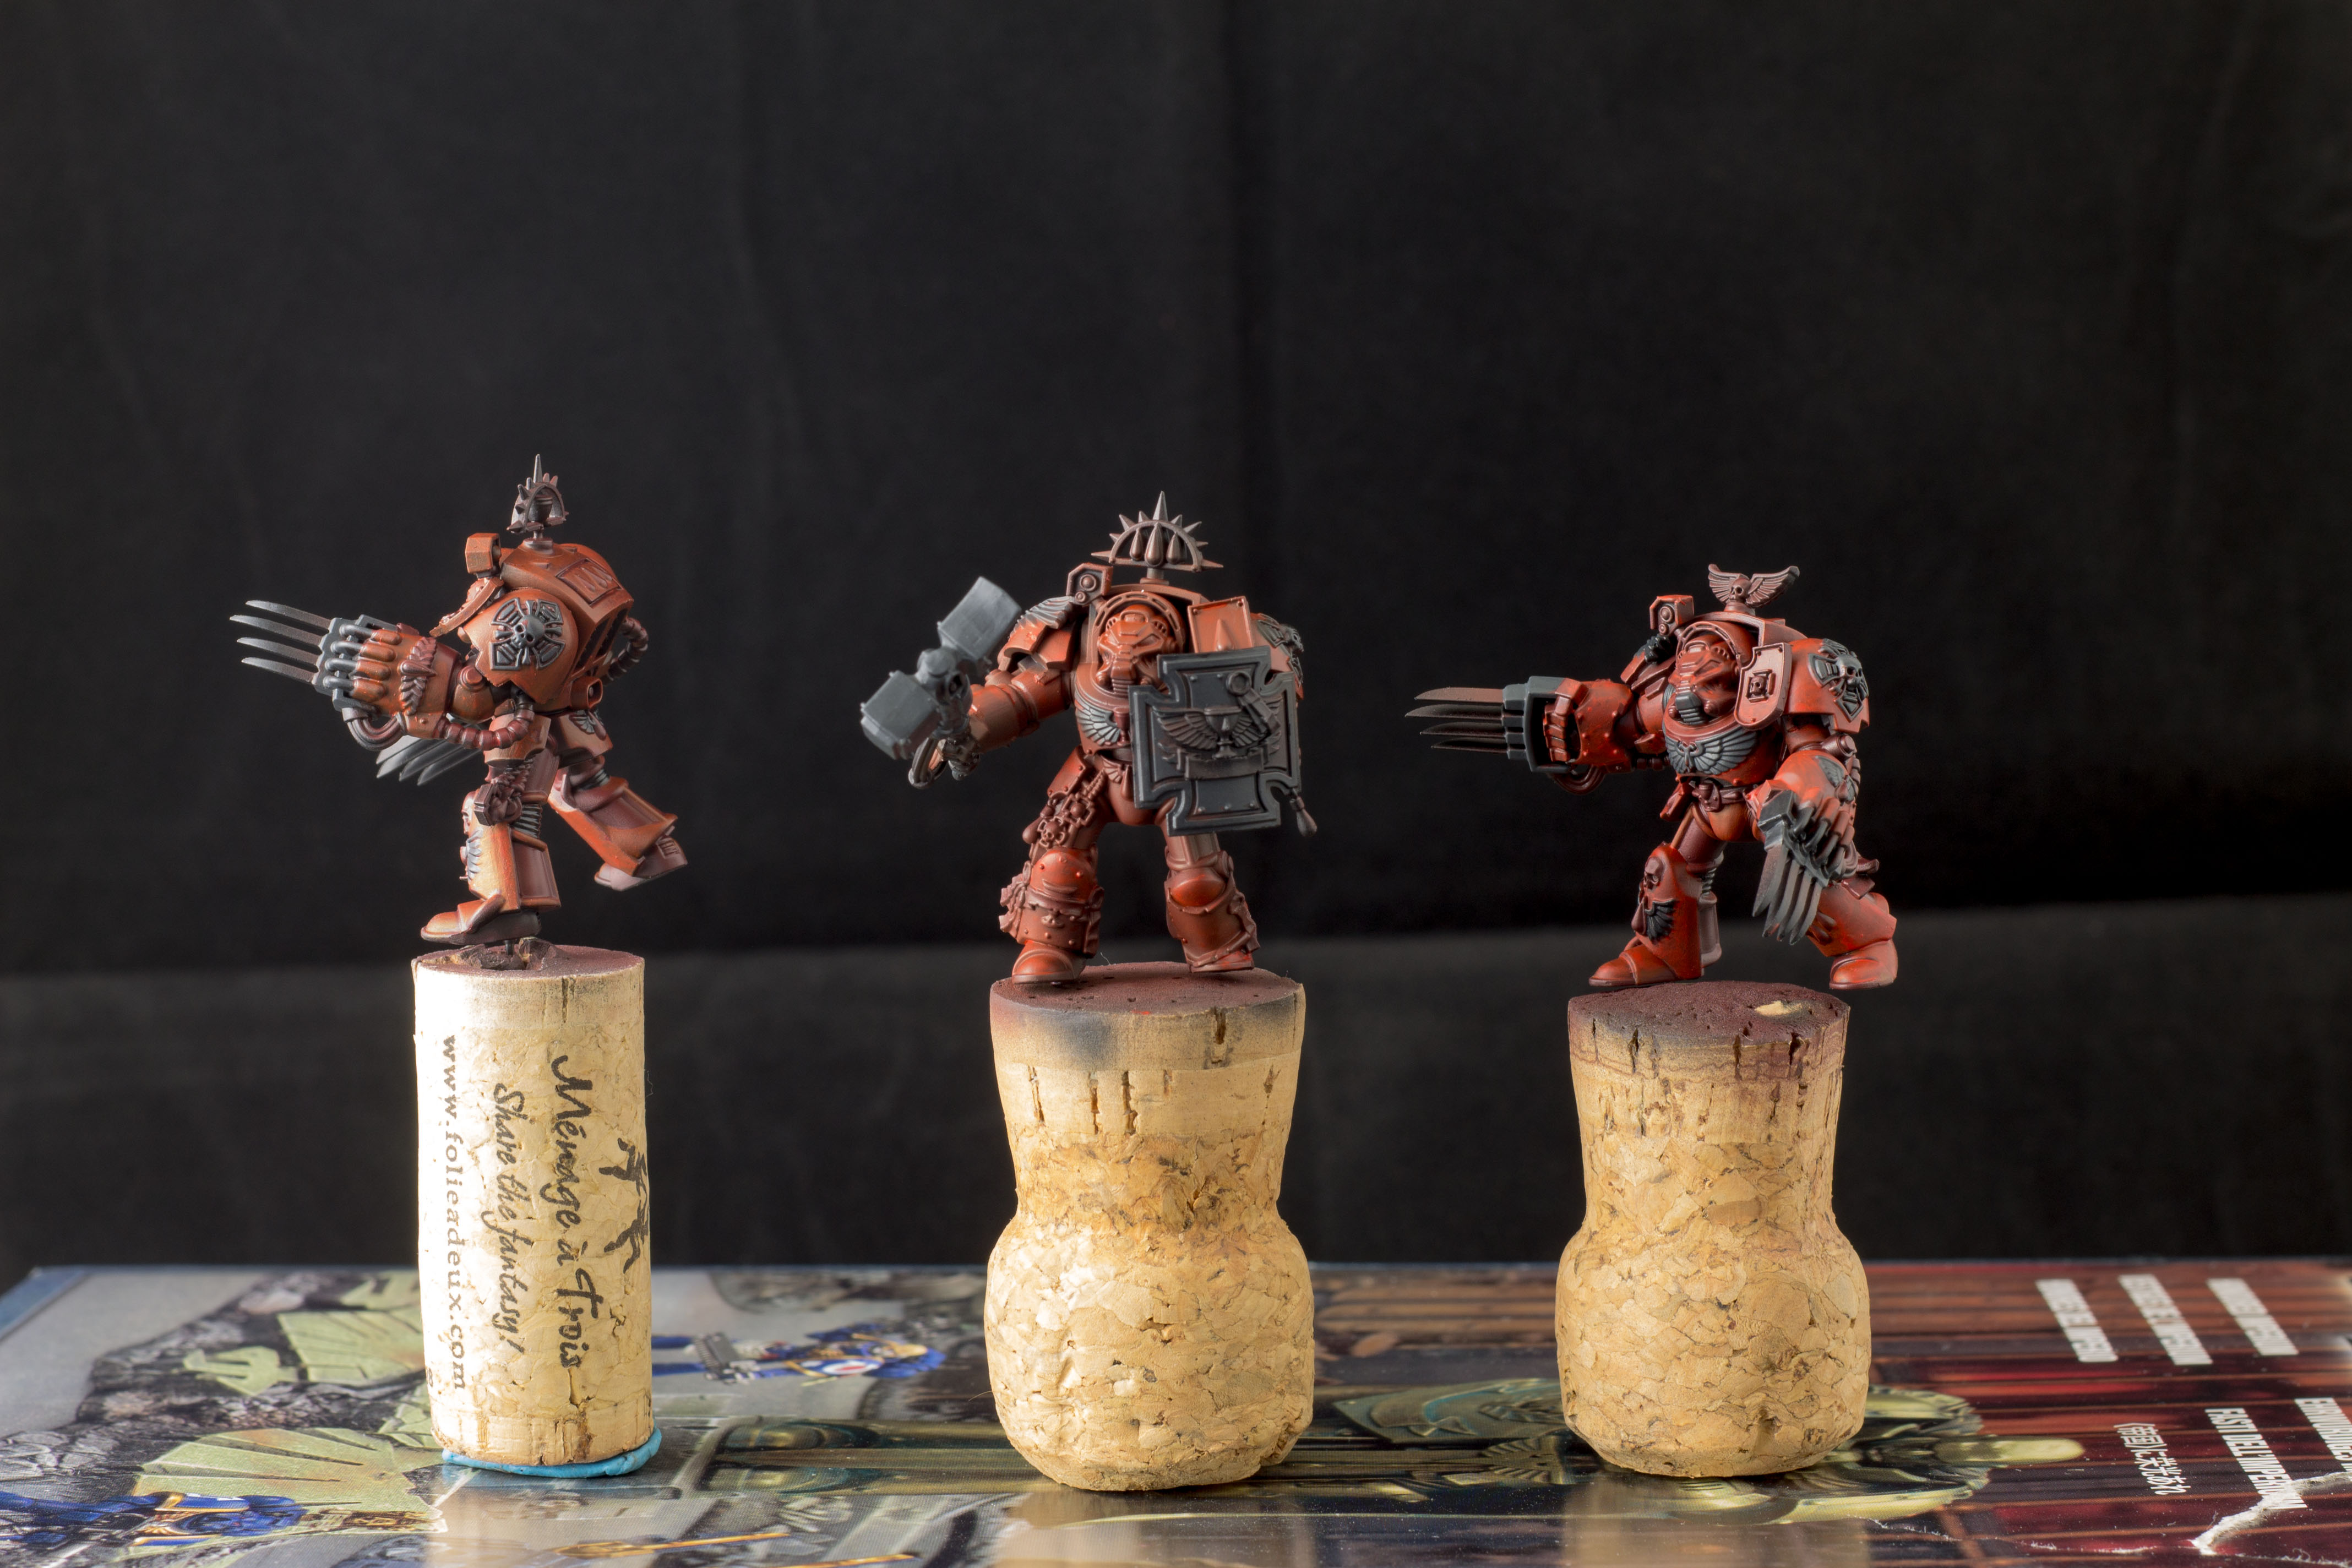
Highlighted with Citadel Blood Red and Vallejo Model Color Red.
Next I did a thin Highlight over most of the model with Citadel Blood Red, I also did one with Vallejo Model Color Red just to compare the two colors. They’re so close to each other that I cannot tell the difference so it just comes down to preference. I also put a layer of Vallejo Model Color Black Grey with a touch more black blended into it on all the places that later I’m going to paint either “black” or metallic.
This week I plan on finishing the Blood Red highlights on the last two figures and pick out further base layers, tabards, purity seals, Gold details etcetera.