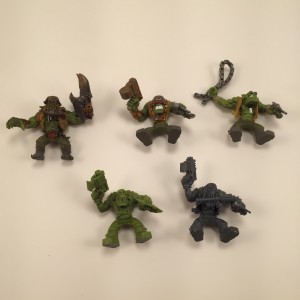
Everyone has their own techniques and methods for painting miniatures, and I always find it interesting to see how others like to work. Sharing ideas and different tricks and tips is how we all learn and get better at the hobby. In that vein, and and since I happen to be working on a unit of Ork warbikers I thought I would give a little insight in to my particular process.
Now my real passion in this hobby is building things, I love to put the models together and kit bash things. I am getting better at the painting part, but I’m still very much an amateur with a lot to learn. So though I think there is some good advice to be taken from my method, there are certainly other, and likely better, ways to do things as well.
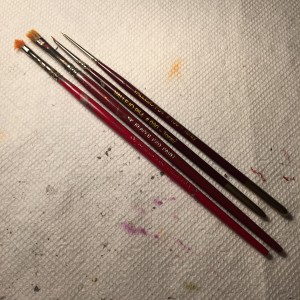
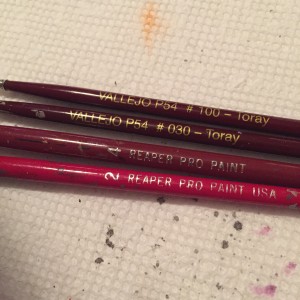
I do almost all of my painting using just four brushes, a very fine detail brush, currently a Vallejo P54 #100. Then I have a slightly larger brush for the bulk of the work, currently a Vallejo P54 #030. Along with these, I use a worn out Reaper #2 for my dry brushing and a Reaper #4 for my washes. I tend to use these smaller brushes in general because my hand shakes when I paint, and the smaller brush means fewer mistakes. Of course it also means more time spent going back to load up with paint.
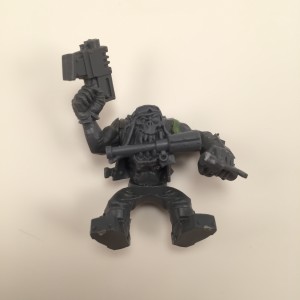
Before any painting happens the first step is cleanup and assembly of the model. Depending on pose or any modifications I need to make there might be the addition of green stuff as filler or very basic sculpting as with the guy below where I had to pad out the shoulder a little to fit a Storm boy head on and still allow the biker arm to reach the handle bars. How you post a model can make just as difference as the paint you put on it. A great paint scheme on a derpy post will still look derpy.
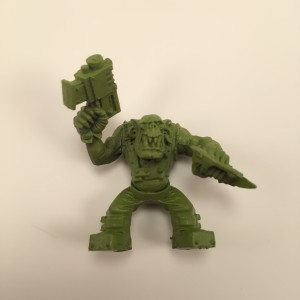
The next step is priming, and like the Waaagh!!! Tower I posted a few weeks back, I like to use a spray primer whenever possible simply for speed and convenience. There is the minor downside of course that spray primers can be tempermental when it comes to temperature and humidity. I have a spray box I use so I can prime in the comforts of my climate controlled home, but if you have to spray outside you are at the mercy of the weather.
But I find Rust-Oleum Painter’s Touch to be perfect for my priming purposes, in this case the Satin Eden. It gives nice green base for the skin tone for my ork horde. There are plenty of other options out there of course, Games Workshop even has their own line, but at around seven dollars a can, the Rust-Oleum is less then half the price and comes in more colors.
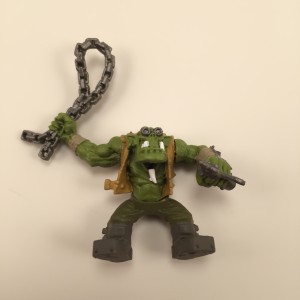
I follow up the prime with my base coats. Now one reason I love orks is all the little details, each model is covered in unique little scars, earrings, and assorted bits. This gives me lots of layers of different colors to pick out all those details. However, I start with some basic blocks of color, usually working bottom up. For these guys I used P3 Bastion Grey for the boots, P3 Traitor Green for the pants, P3 Rucksack Tan for the jackets/vests, P3 Molten Bronze for body and wrist armor, P3 Hammerfall Khaki for wristbands, P3 Pig Iron for the weapons, helmets, and goggles, and finally P3 Morrow White for teeth and various bone decorations.
I work in something of an assembly line fashion, doing one color on all the models, then switching to another and starting from the beginning of the line. This gives each color a chance to dry before I put another one down. In the case of these warbikers I used seven different base colors across the models. I tend to work primarily with colors from the P3 range as you may have noticed, but it is a fairly small range so I have assorted bottles from other companies as well.
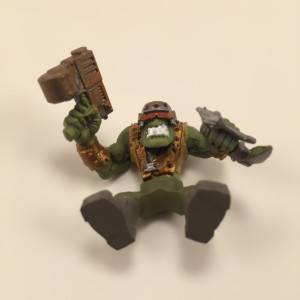
Since they are the predominate colors, the base layers tend to take the most time to complete. However, it is the detail layers that really make a model pop. They add the highlighting and shadowing to the big blocks of color I laid down in the previous step. For instance on the the biker’s helmet below I hit the spike edges with P3 Quick Silver, and I worked on adding depth to the skin tone with Citadel Straken Green. I also pick out detail elements such as the goggle lens and ork glyphs which got hit with P3 Skorne Red, and various hoses on which I used P3 Beaten Purple. This also where I do my dry brushing, mostly to add some wear and tear to everything. I used more P3 Quick Silver and then Citadel Ryza Rust to put some wear and rust on the various metallic parts.
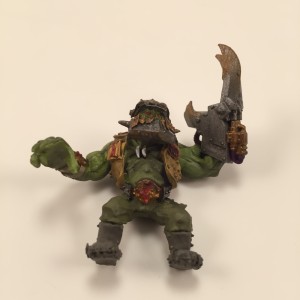
The final step is a wash to tie it all together and add some nice shadows to everything. On large models, or models I want to be real centerpieces I will use a few different washes to get different effects on different parts. For smaller models that will be part of a larger unit, I just do a single color wash over the entire model. I will still adjust the amount of wash in different areas of the model depending on how much shadow or definition I want. In this case, I used Citadel Nuln Oil wash.
I went ahead and knocked out a bike to give you an idea of what the final unit will look like. I used essentially the same colors and the same techniques on it, though with the addition a nice coat of Citadel Typhus Corrosion on the bottom of the bike, the tires, and across the top of the base to give that road grime look.
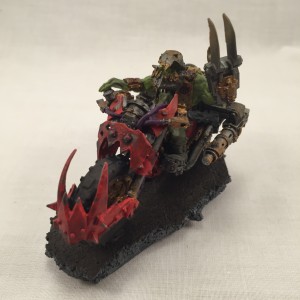
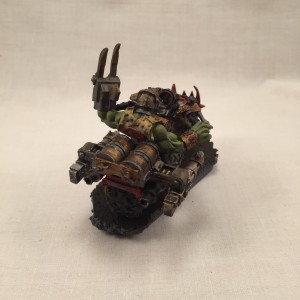
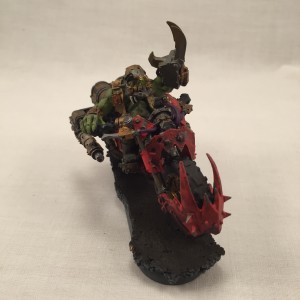
I am not sure how many colors the average painter uses per model, but on these guys I ended up using fourteen different colors after the primer, and that is about average for one of my models. With the bike included, it took me about two and half hours per figure; a result of both practice and my assembly line method of painting. I may not be the best painter out there, but I can put decent looking models on the battlefield in what I consider a decent amount of time. I still have a lot to learn, but practice makes perfect, and reading articles like this one from other painters always proves to yield at least some useful advice.

