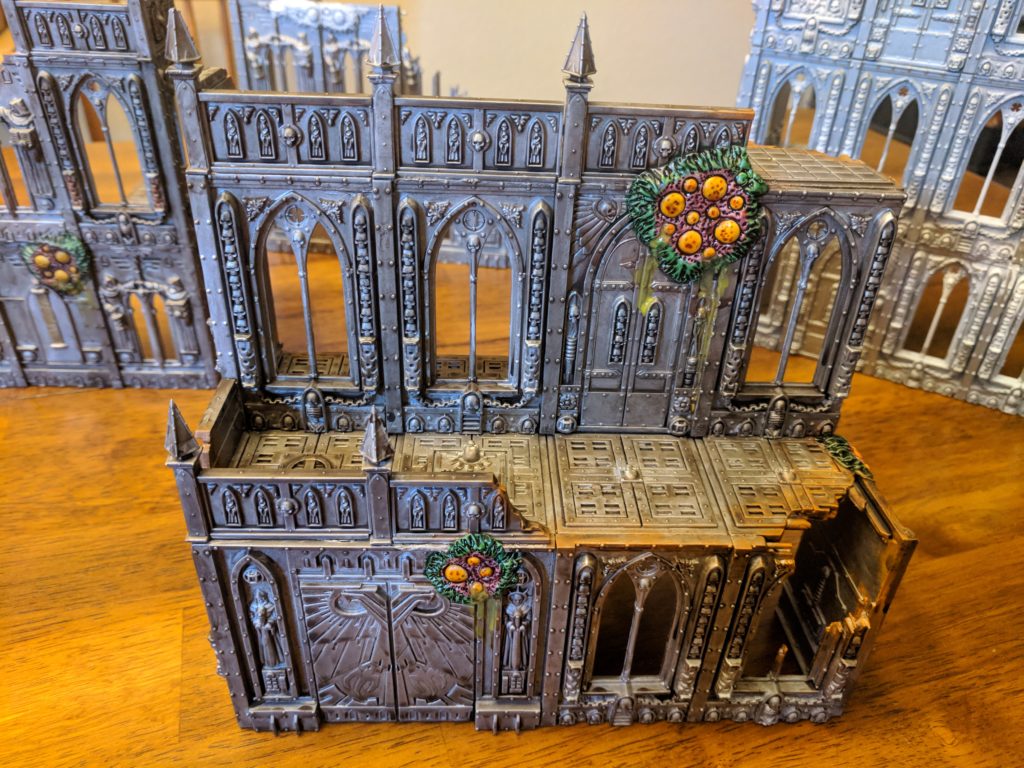
The goal with these pieces was for the Nurgle rot to really stand out and catch the eye, but at the same time for the structures to look essentially like any other ruins depending on the angle.
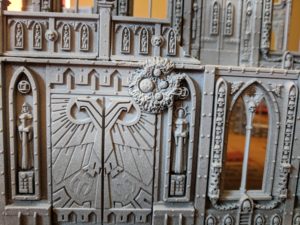
The first step in painting these Nurgled ruins is to lay down the base coat. This is done by first basing the entire piece in a dark grey, and then going back over it with white. However, when putting down the white you focus on the spots with the Nurgle sculpting and add highlights in any other spots you like. What this will do is make it so when you start putting down your washes and glazes on the Nurgle spots they will really pop, and it adds a zenithal highlighting type effect in other areas.
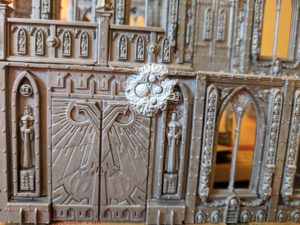
If you have an airbrush this step is pretty quick and easy. If on the other hand you are like me and lack an airbrush you can either do this by hand or in my case I use good old fashioned spray paint. In this case, I like Krylon’s line of spray primers. They have good coverage and other paints stick to them well. Of course, when using spray paint you have to give it twelve hours or so between coats to let everything set up and cure. So this step ends up taking me around two to three days. With an airbrush, you can go from base coat to laying down paint in a matter of hours.
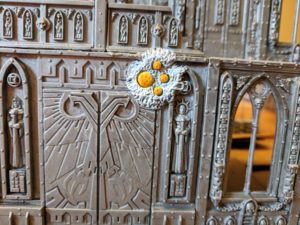 For the majority of the structure I thinned out some gunmetal and then laid it on similar to a wash, doing two to three coats to get the desired coverage without completely hiding the white highlights I laid down earlier. I then went back and did a dry brush of silver on various pieces I wanted to stand out more, followed by a dry brush of Ryza Rust to make any broken areas look rusted and then an all over wash of Agrax Earthshade to give it all a nice dirty appearance. A few areas I wanted deeper shadows then also got a layer of Nuln oil to darken them further. Finally, I picked out a few pieces with brass. I left the sculpted Nurgle pieces untouched during this phase.
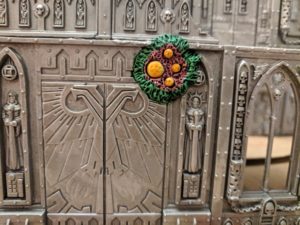 For the actual Nurgle pieces, I started with a Casandra Yellow wash over the pustules, each getting two to three coats to make the color pop. Then I did a wash of Carroburg Crimson on the area around the pustules and up to the rim of the Nurgle spot. The rim area I used a wash of Biel-Tan Green. I then clear coated the whole thing with Testors Dullcoat. Then all of that got a wash of Reikland Fleshade Gloss. To make it shiny again as it wet with rot. This also helps meld the colors a bit more. Some spots of Nurgle’s Rot dripping down finished them up.
I’m really happy with how this piece turned out, now I have to replicate it on the other three models. Which will give my buddy a nice selection of ruins to help build out a small table for Kill Team, or just set up a portion of a city as Nurgle controlled in a regular game.

