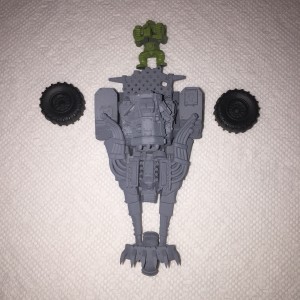
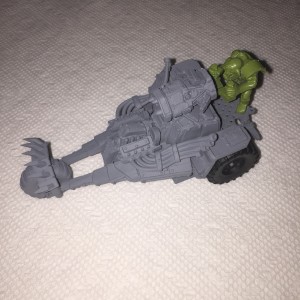
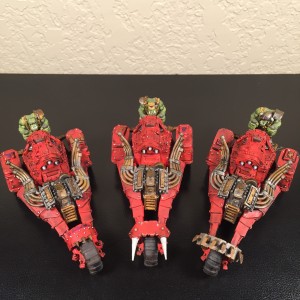
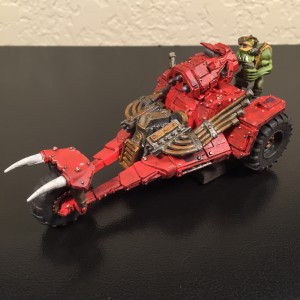
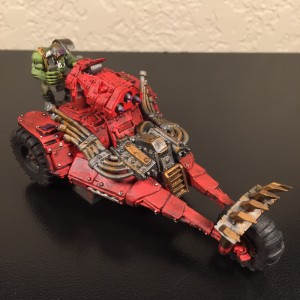
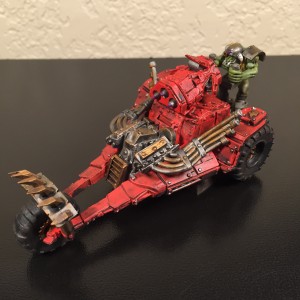
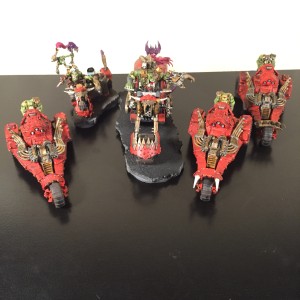
I reviewed the Mantic Marauder Raptor a few weeks back and mentioned that I would be converting them to serve as my Ork Warbuggies. Having gotten them assembled I went right to work on the converting process. I ended up going with only a few minor changes as I found the Raptors to be very close to the look I already wanted. Mantic’s models do not have quite the same level of detail as Games Workshop’s releases, but I they get some points for the cooler buggy design.
I did have to replace the gunners of course, as mentioned in the review they were a tad small and oddly posed. As a replacement, the Ork Gunner model from the Games Workshop Gorkanaut was damn near perfect for my purposes. Thankfully, I recently picked up a few sprues of them in a bits lot. I added some shoulder armor from the Ork Nob sprue to make them look a little tougher and they fit the buggies as if they were made for them.
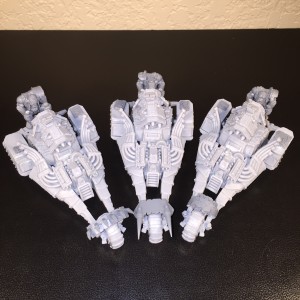
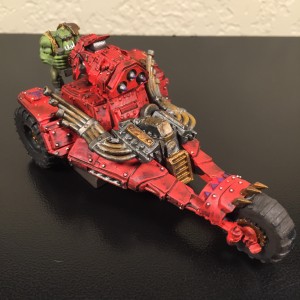
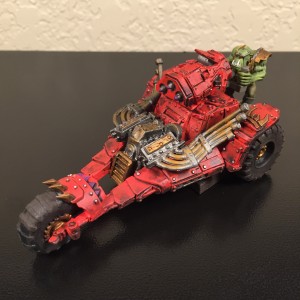
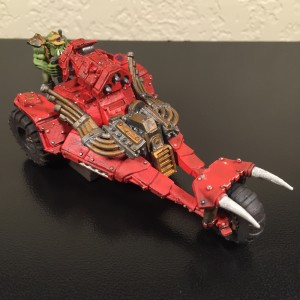
For the Warbuggies themselves I fashioned unique front fender armor for each from Killa Kan bits and then decorated them with Ork Glyphs from the Trukk kit. Almost every Ork kit comes with extra decorative bits, and half the fun is finding unique ways to use them. The end result were Warbuggies that fit all my Orky needs, ramshackle vehicles that still looked like they could move fast and spit out plenty of dakka. I was tempted to magnetize the weapon so I could swap in Big Shootas, but honestly I plan to run these guys primarily as tank hunters so ended up just gluing the rockets in place.
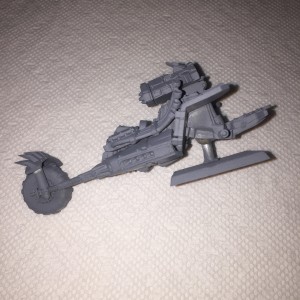
I also added a base to each of them using a bit of metal tubing and some square 40mm Warhammer Fantasy bases. This was to add some stability on the table and so that I could magnetize them for transport as I use metal trays. The squares were positioned so that unless you are looking for them they are pretty much invisible beneath the rear of the buggies.
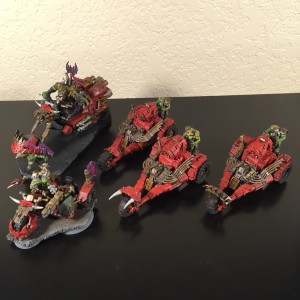
For color scheme, I followed the same palette I have used on my other customs so far. I put a red base over most of the vehicle, and then a mix of gunmetal, silver, copper, and brass on the various metallic parts. I picked out various bolts and panel edges to give it a scratched up look, dry brushed Ryza Rust over the gunmetal, then washed it all in nul oil. Then I hit the tires and under carriage, including the base, with typhus corrosion for a textured mud covered look. I also picked out one sigil on each to hit with purple as I have made that something of a unifying element with this force.
While they all look great together, here are a series with a closer look at each. Followed by a group shot with my Warboss and Painboy. So far this Road Waaagh!!! is coming together nicely.

